
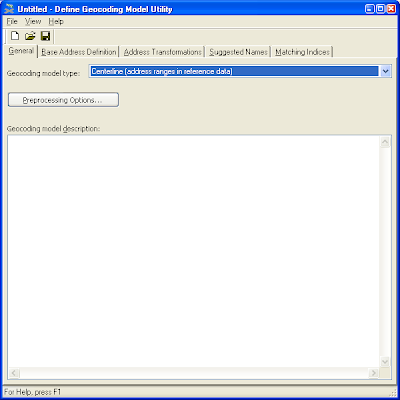
In my previous post, I showed how to define a rule to parse 6-digits postal codes. The next step in setting up address geocoding in GeoMedia is to define the geocoding model. In this step of the workflow, there are two geocoding model types - roof top or center line (with left and right house number ranges) that you can choose to create.
To make it easier to define the geocoding model, Intergraph has provided a hidden utility in the {GeoMedia}\Program\ folder. If you can't find it then you have to install the latest GeoMedia 6.1 hot fix 6.1.5.19 or later. In this post, we are going to define a roof top geocoding model that will transform 6-digits postal code strings from reference GeoMedia features into address indexes. At the same time, we will have to define the user prompts and the transformation of the 6-digits postal code strings entered by the user. We are going to make use of the 6-digits postal code parsing rule defined in the earlier post.
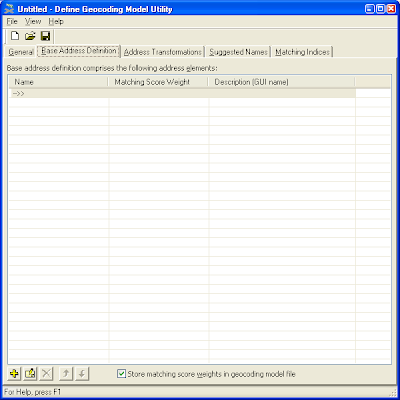
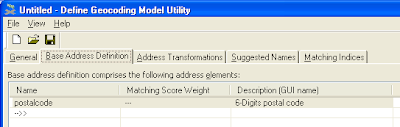
Base Address Definition
Here you have to define the components that make up your addresses e.g. house number, street name, street type, postal or zip code, etc. In our simple example, we have only one component i.e. postal code.
Here you have to define the components that make up your addresses e.g. house number, street name, street type, postal or zip code, etc. In our simple example, we have only one component i.e. postal code.
- In Windows Explorer, double click the file DefGCM.exe in the {GeoMedia}\Program\ folder.
The Define Geocoding Model Utility dialog box appears.
- Click Base Address Definition.
- Click the Add
 button.
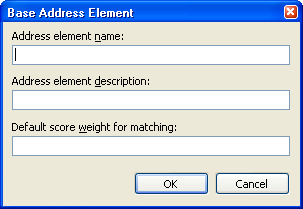
The Base Address Element dialog box appears.
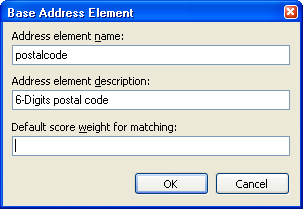
- In the Address element name field, enter a meaningful name, e.g. postalcode. In the Address element description field, enter a meaningful description, e.g. 6-Digits postal code.
Note: the description will be used later in the GUI of other address functions.
The Base Address Element dialog box may look like this at this point.
- Click OK.
The new base address definition appears in the Define Geocoding Model Utility dialog box.
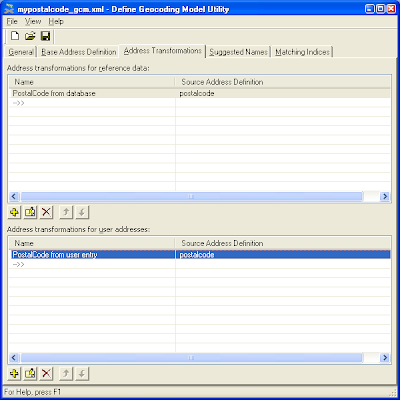
There are two address transformations you have to set up. The first transformation to define is the transformation from the GeoMedia warehouse feature's address strings to the components (base address) of your addresses. The GeoMedia feature data is called the reference data here. For example, I may have a GeoMedia feature class named ADDRESS with an attribute field called POSTCODE that stores my postal code strings. I need to define how to map the POSTCODE field to the postalcode base address component.
The second transformation is the transformation from the address strings the user keys in to the base address components. For instance, the user may key in 123 or 123456; I need to define the transformation that will map 123456 to the postalcode (base address) component.
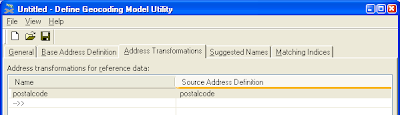
- Click the Address Transformation tab.
The transformations entry fields for reference data and user addresses appear.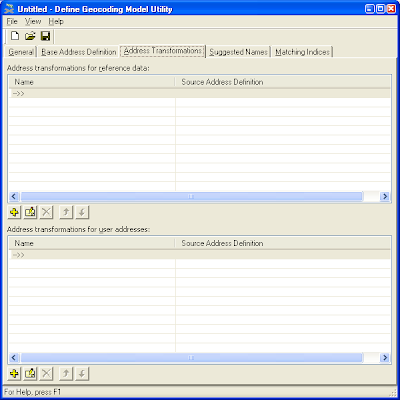
- Click the Add button for reference data.
The Address Transformation dialog box appears.
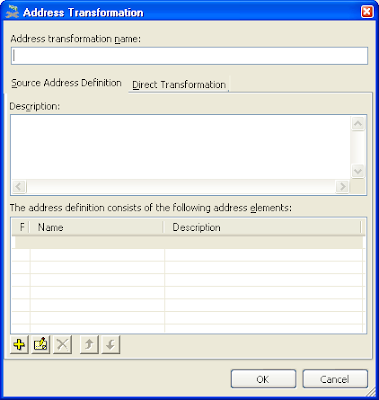
- Click the Add button.
The Address Transformation dialog box appears.

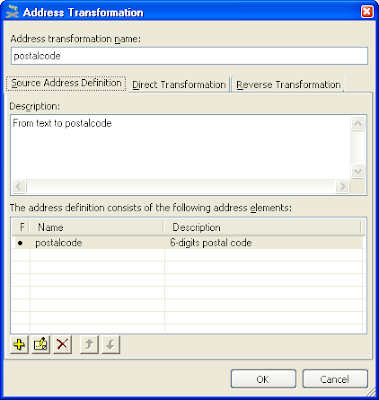
- In the Address transformation name, enter a meaningful name, e.g. Postal code from database.
- Click the Add button.
The Source Address Element dialog box appears.
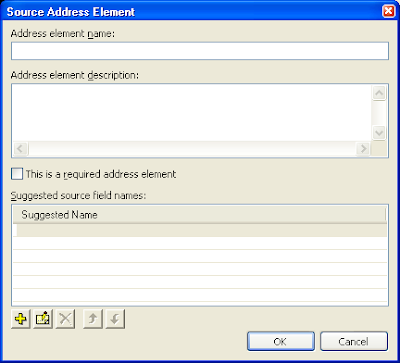
- In the Address element name field, enter a meaningful name, e.g. postalcode.
Note 1: As we have only a single address element i.e. a 6 digits postal code, we can toggle on the This is a required address element option.
Note 2: When you run the Publish to Address Geocoding Index utility, if you want it to automatically fill in the database field name for this address element, you can enter the database field name in the Suggested Name field.
- Click the Add button.
The Suggested Name dialog box appears.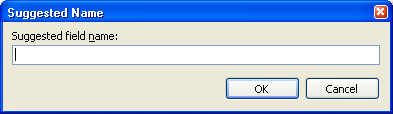
- In the Suggested field name field, enter the database field name e.g. POSTCODE. Click OK.
- Click OK to close the Source Address Element dialog box.
The new source address definition is added to the Address Transformation dialog box.
- Click the Direct Transformation tab. Then Click the Add button.
The Mapping Properties dialog box appears.
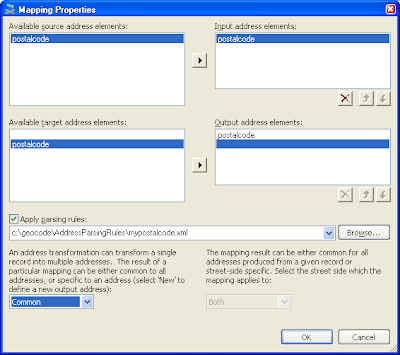
- Toggle on Apply parsing rules. Click Browse.
The Open Address Parsing Rules dialog box appears.
- Browse and select the rules file we defined earlier (in my previous post) e.g. mypostalcode.xml. Click Open.
- Click OK twice.
The new address transformations for reference data definition is added to the Define Geocoding Model Utility dialog box.
- Click the Add button in the user address section.
The New Address Transformation dialog box appears.
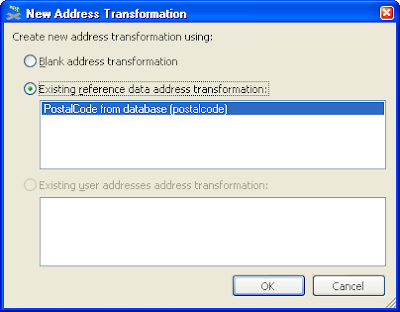
- Toggle on Existing reference data address transformation. Select PostalCode from database and Click OK.
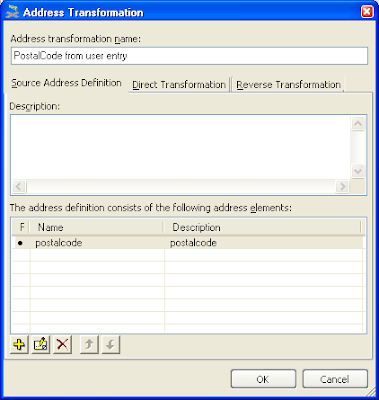
The Address Transformation dialog box appears and the address definition from the reference data section is copied over.
Note: instead of copying over the reference data definition, you can start from blank and create a new definition for transforming user addresses.
- In the Address transformation name, enter PostalCode from user entry.
Click OK.
The new definition is added to the address transformation for user addresses.


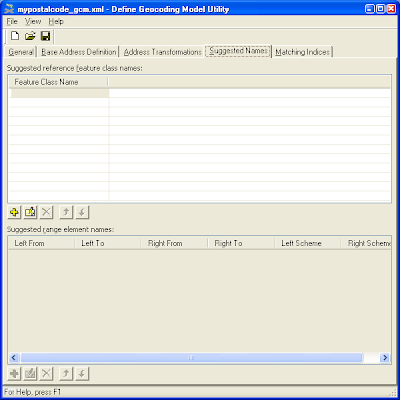
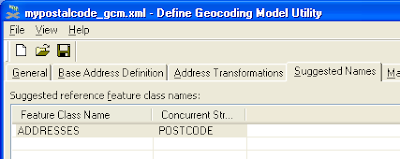
Suggested names are used by the Publish to Address Geocoding Index utility and GeoMedia's address geocoding functions e.g. Find Address. As the name indicates, Suggested Names are simply names that GeoMedia will use and find the matching feature classes and field names. If GeoMedia can't find the matching class/field, then the user will be prompted to select.
- Click Suggested Names tab.
- Click the Add button.
The Suggested Names dialog box appears.
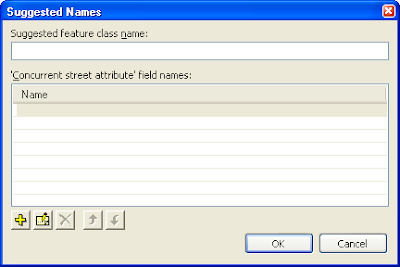
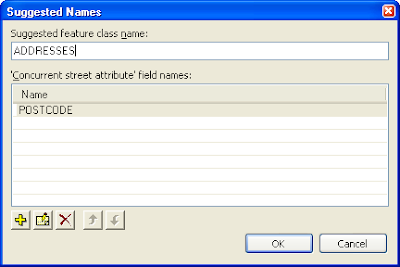
- In the Suggested feature class name, type in the name of the GeoMedia Warehouse feature class name that stores the reference addresses e.g. ADDRESSES.
- Click the Add button.
The Suggested Name dialog box appears.
- In the Suggested field name field, type in the name of the database field in the GeoMedia feature class, e.g. POSTCODE.
- Click OK.
The new suggested name is added.


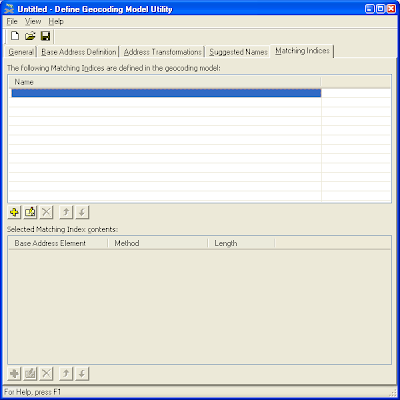
Here is where you can define how the user inputs will be matched with the geocoded address indexes. You can have sound like matching or the actual value matching.
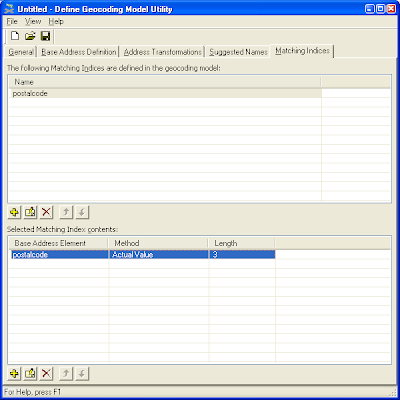
- Click the Matching Indices tab.
- Click the Add button in the upper half.
The Matching Index Properties dialog box appears.
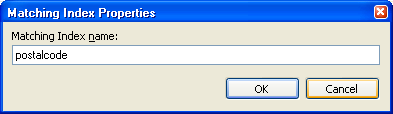
- In the Matching Index name field, enter postalcode. Press OK.
- Click the Add button in the lower half.
The Add to Matching Index dialog box appears.
- In the Include the first characters of drop down list, select a number e.g. 3. In the Address element drop down list, select postalcode. In the Using method, select Actual Value.
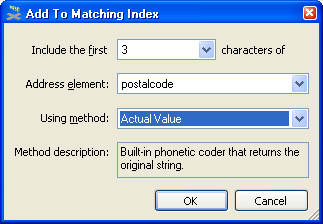
Click OK.
- Select File > Save As and save the Geocoding Model definitions to an XML file, e.g. mypostalcode_gcm.xml.
The final setup step is to run the Publish Address Geocoding Index utility.

No comments:
Post a Comment