
The screenshot below shows the counter-clockwise digitized direction of a line feature.
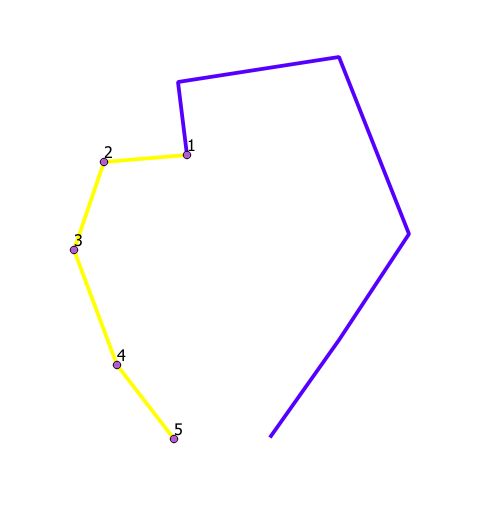
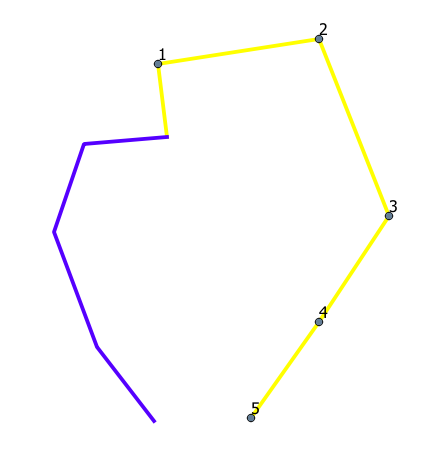
The other line feature is digitized in a clockwise direction.
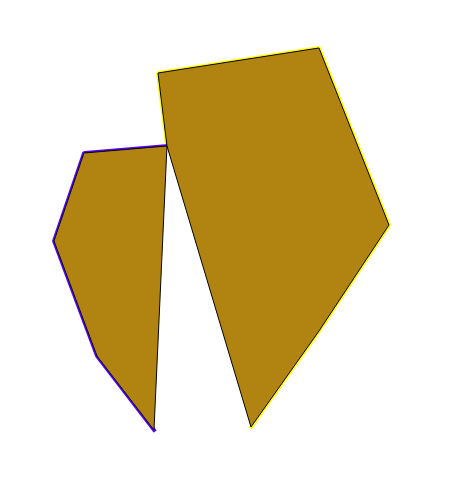
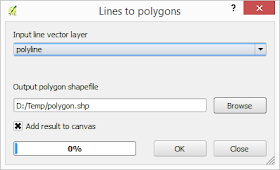
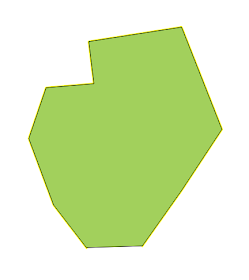
If a polygon is constructed using the QGIS Line to Polygon function, the following polygon will be generated.
Using the Join Lines command
- If the Join Lines plug-in is not installed, select Plug-ins | Manage and install plug-ins and install the Join Lines plug-in.

- In the map view, select two lines.

- Select Vector | Join two lines | Join two lines.

- Select Layer | Toggle editing.
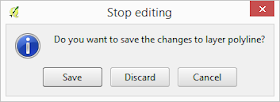
- Click Save.
The joined line is saved.


If the joined lines are used to generate a polygon, the following area geometry will be constructed.

No comments:
Post a Comment