Making an plane edge geometry flush with another plane geometry is a typical CAD task. In Blender 3D, it is possible to do the same using simple Move and Scale commands, but with the right settings.
The screenshot below shows 2 plane objects in the top view. This post shows the steps to adjust the bottom plane to snap nicely to the plane on the left.

Set to Snap to Vertex
- In the Blender 3D Viewport menu bar, click the Snap icon and choose Vertex as shown below.


Snap the vertex of one plane to the vertex of the other plane
- In the Blender 3D Viewport, make sure the Edit Mode is enabled and Select Mode is Vertex.
- In the Blender Toolbar, select the Move icon. Then click on the bottom vertex of the plane to be moved.
- On the keyboard, press down CTRL and drag the bottom vertex to snap to the vertex of the other plane.


Scale the edge vertices by axis to zero
- In the Blender 3D Viewport menu, set the Transform Pivot Point to Active Element as shown below.

- On the keyboard, press ALT-a to deselect all selection.
- In the Toolbar, click the Select Box icon.

- Click the top vertex of the plane to be scaled.
- Press SHIFT and click the bottom vertex.
Note: since the Transform Pivot Point is set to Active Element, the scaling will be relative to the last selected vertex. - Press S.
The plane scales dynamically around the last selected vertex as the cursor is moved.
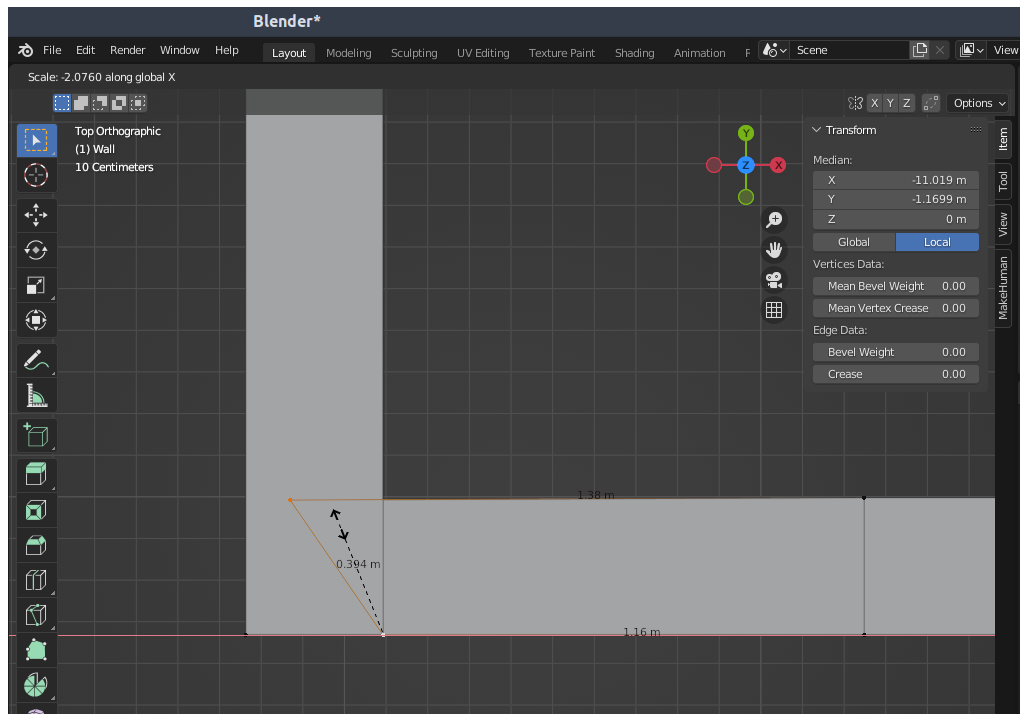
- Limit the direction of scaling to the X-axis (in this example) which is perpendicular to the matching edges. Press X.
The plane can only scale along the X axis.
- Press 0.
The planes are snapped nicely to one another.