Monday, November 28, 2022

Using GIMP's color channels to remove blue guide lines from inked line art

Penciled comic book art typically have blue guide lines (and text) as shown in the screen shot below. 

The sketch can be downloaded from this site https://www.deviantart.com/edtadeo/art/Elektra-2-Pencil-174307445 if you want to practice with it. There are a number of ways to remove the blue lines from the image. I will be using the Color channels panel to remove the guide lines.

The steps:

Remove pixels from the Red and Green channels

  1. In GIMP, open up the image. Click the Channels tab on the bottom right.


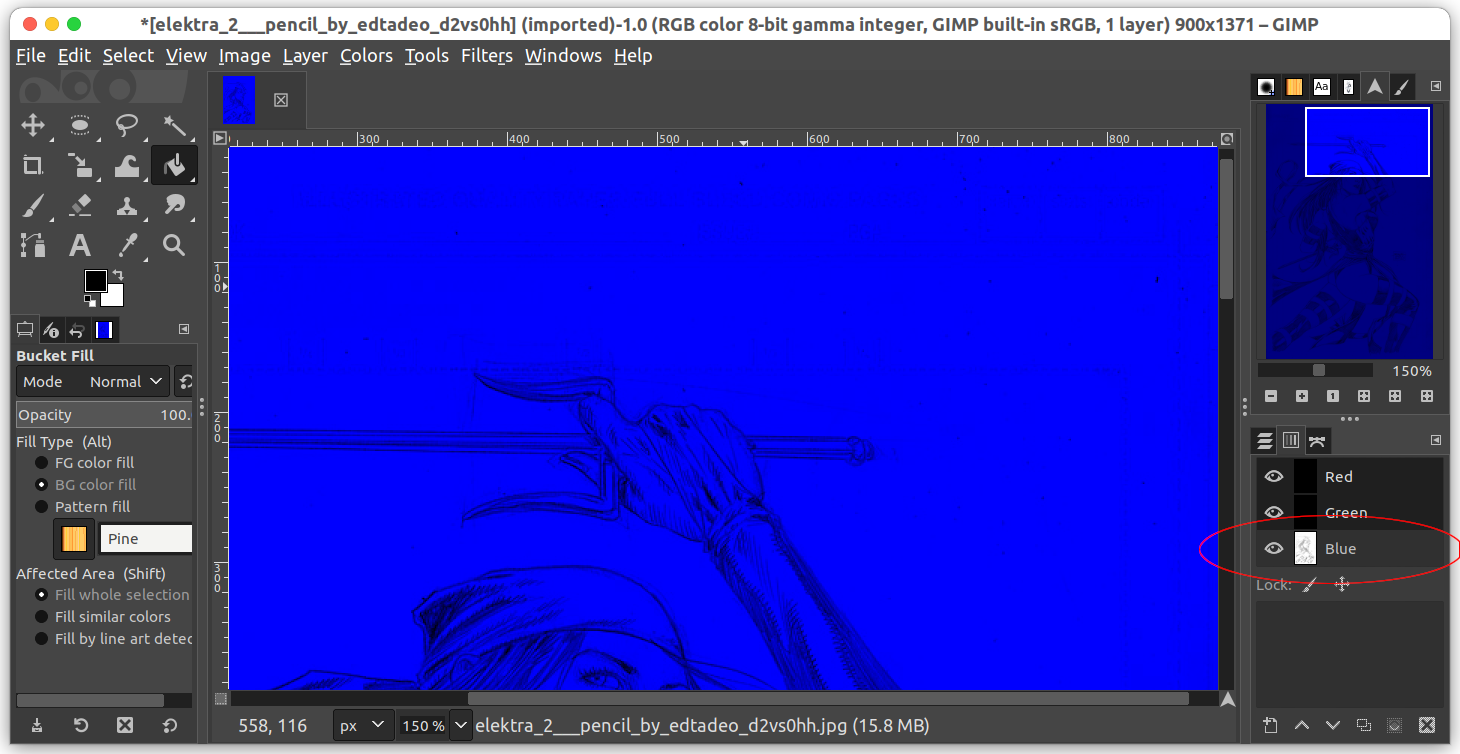
  2. Click the Blue channel to deselect it.


  3. In the Tool palette, click the Fill icon.


  4. Toggle on the FG color fill. Make sure the foreground color is black since we want to remove the Red and Green channels data.


  5. Then, click anywhere on the canvas.

    The background becomes blue.


Create the line art in the Red and Green channels

  1.  In the Channels tab, press the mouse right click button on the Blue channel.

    A popup menu appears.


  2. Choose Channel to Selection.

    The blue channel's non-zero pixels are selected.


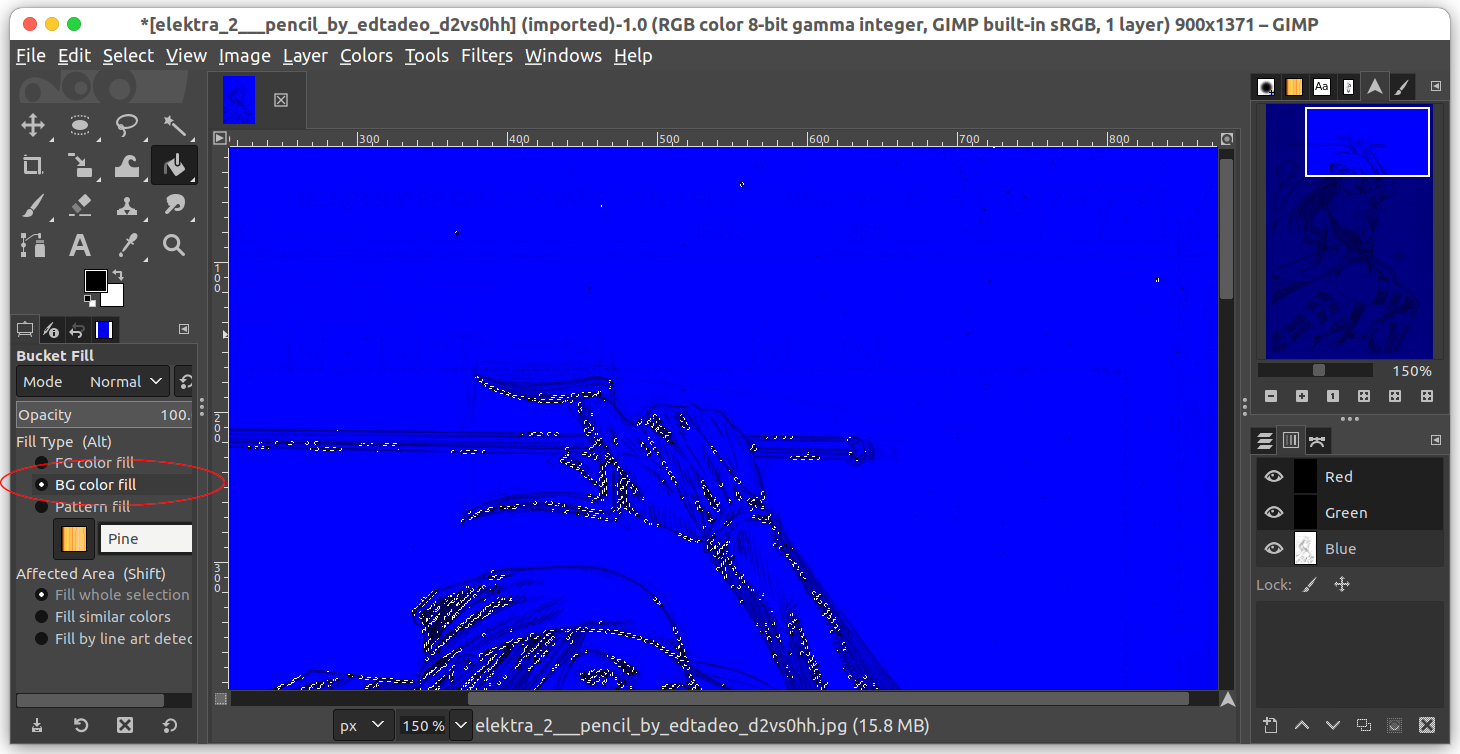
  3. In the Tool box, click the Fill icon. Toggle on the BG color fill option. (Note: the background color should be white). Then click anywhere in the selection on the canvas.

    The background becomes white.


  4. In the Channels tab, click the Blue channel to select it again.  Then in the menu, choose Select | None to clear the selection.


Use Threshold to clean up the line work

  1. In the menu, select Colors | Threshold.

    The Threshold dialog box appears.

     
  2.  Drag the black triangle until you are satisfied with the contrast between the line work and the background.


  3. Save your work.

Monday, November 7, 2022

Shell script to batch bulk convert *.flac files to *.mp3

I have many music files in flac format and I wanted to convert them to a more compressed mp3 format with ffmpeg on Ubuntu so I can upload them to a storage limited portable music player. To ease the conversion task, I decided to write this simple shell script to do the job. In brief, the script will do the following:

  • find all the files with the extension .flac in the current directory
  • replace the file name extension .flac with the .mp3 extension
  • create a temporary script that calls the ffmpeg command to convert
  • run the temporary script

The listing of the shell script is shown below.  

# Define the internal field separator as a newline
IFS=$'\n'

# Find all the *.flac files in the current directory and perform the conversion
for f in `find . -name "*.flac" `;
do
	# Use the input flac file name prefix and replace the .flac extension with a .mp3 extension
	f=$(echo $f | cut -c 3-)
	outfile=$(basename $f .flac)
	outfile=$outfile.mp3
	
	echo "Convert $f->$outfile..."
	
	# Form the ffmpeg command to convert the input flac file to mp3
	cmd="ffmpeg -hide_banner -i \"$f\" -ab 320k -map_metadata 0 -id3v2_version 3 \"$outfile\" "
	
	# Create a temporary shell script for running the conversion
	echo $cmd > /tmp/tmp.sh
	
	# Run the conversion to mp3
	bash /tmp/tmp.sh
	
	# Clean up
	rm /tmp/tmp.sh
done

To use this shell script, you can do the following:

  1. Save the code listing above to a file e.g. run.sh in a directory, e.g. /path/to
    /directory/


  2. Open up a Linux Terminal.

  3. In the Terminal, type in the command to change directory to the location of the flac files, e.g. /path/to/music/

    $ cd /path/to/music


  4. At the prompt, type in the command to run the shell script.

    $ bash /path/to/run.sh

    The flac files are converted to mp3 files.