
Recently, it seems animated GIFs have been making a come back and used on social networks like
Google+. I thought of making a simple
Chrome Web App for creating the animated GIF files (using only Javascript, HTML5 and the
gif.js library) without having to upload to a server for processing, i.e. the processing takes place within the web browser only. The resultant WebApp is available here on
http://dominoc925-pages.appspot.com/webapp/gifanim/default.html.
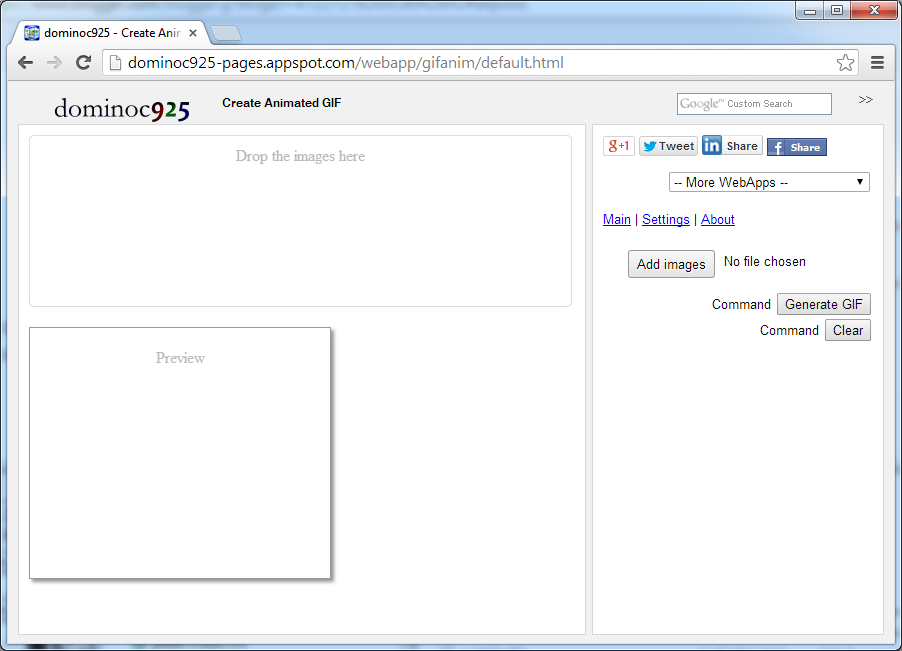
Using the WebApp is easy. The following steps show how to create an animated GIF with the default settings.
- Simply drag and drop the image frames into the box provided. Or click the Add Image button.
The Open dialog box appears.

- Select one or more image files. Click Open.
The thumbnails of the selected files appear in the box.

- Click Generate GIF.
The animated GIF file is created.

- To save the animated GIF file, mouse right click on the animation. Select Save Image As.

The Save As dialog appears.
- Type in a file name. Click Save.
The animated GIF file is saved.
Delete or change the order of the image frames
- If you want to change the order of the images, simply click on the image thumbnail.
The Move previous, delete, and Move next icons appear below the thumbnail.

- Click Move previous to move the selected image before the previous image frame.
- Click Move next to move the selected image after the next image frame.
- Click Delete to delete the selected image.
Changing the default settings
- If you want to change the default settings, click on Settings on the right pane.

- In the Quality field, choose another value.
- In the Animation speed field, choose another value.
- In the Repeat field, choose another value.
- In the Canvas size field, choose another value.
- Click Generate GIF to see the effects.


