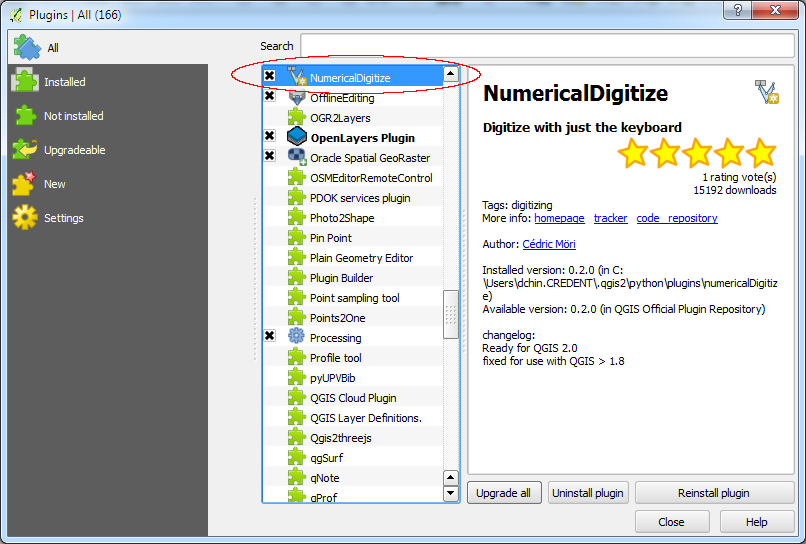
If the plug-in is installed, then the highlighted icon is available in the Digitize tool bar.
Using NumericalDigitize to precisely enter feature coordinates is easy, as shown below.
- In QGIS, create a new layer, or load in a new layer, e.g. pointlayer.shp.
- Toggle on Editing.

- Click on the NumericalDigitize icon.
The Add numerical feature dialog box appears.
- Optional. Toggle on the appropriate coordinate CRS, e.g. in the CRS of the Project.
- In the X field, type in a coordinate value, e.g. 90.3.
- In the Y field, type in a coordinate value, e.g. -44.5.

- Repeat steps 5 and 6 for more coordinates.
- Click OK.
The feature(s) are created at the precise coordinates.

No comments:
Post a Comment