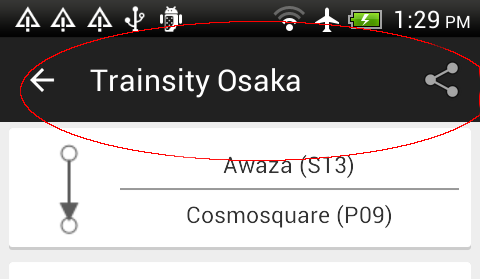
I wanted to style the background to a different non-black color. After some investigation, I had to do the following:
- Choose a color
- Define a custom theme
- Assign the custom theme to the application
Choose a color
- Decide on a color to use for the background e.g. red or #303f9f in hex.
- Decide on a color for the text e.g. white of #ffffff in hex.
- Add these colors to the Android app's XML file e.g. [app]/res/values/color.xml.
<?xml version="1.0" encoding="utf-8"?>
<resources>
<color name="actionbar_background">#303f9f</color>
<color name="actionbar_text">#ffffff</color>
</resources>
Define a Custom theme
- Open up the Android app's styles XML file e.g. [app]/res/valuess/styles.xml, in a text editor.
- Append in a new style e.g. CustomActionBarTheme that inherits a parent theme e.g. Theme.AppCompat.Light.DarkActionBar.
- Append in new styles for the action bar, title text, and tabs text, e.g. MyActionBar, MyActionBarTitleText and MyActionBarTabText.
- The following code shows the complete styles.xml file.
<resources>
<!-- Base application theme. -->
<style name="AppTheme" parent="Theme.AppCompat.Light.DarkActionBar">
<!-- Customize your theme here. -->
</style>
<style name="CustomActionBarTheme"
parent="@style/Theme.AppCompat.Light.DarkActionBar">
<item name="android:actionBarStyle">@style/MyActionBar</item>
<item name="android:actionBarTabTextStyle">@style/MyActionBarTabText</item>
<item name="android:actionMenuTextColor">@color/actionbar_text</item>
<!-- Support library compatibility -->
<item name="actionBarStyle">@style/MyActionBar</item>
<item name="actionBarTabTextStyle">@style/MyActionBarTabText</item>
<item name="actionMenuTextColor">@color/actionbar_text</item>
</style>
<!-- ActionBar styles -->
<style name="MyActionBar"
parent="@style/Widget.AppCompat.Light.ActionBar.Solid.Inverse" >
<item name="android:background">@color/actionbar_background</item>
<item name="android:titleTextStyle">@style/MyActionBarTitleText</item>
<!-- Support library compatibility -->
<item name="background">@color/actionbar_background</item>
<item name="titleTextStyle">@style/MyActionBarTitleText</item>
</style>
<!-- ActionBar title text -->
<style name="MyActionBarTitleText"
parent="@style/TextAppearance.AppCompat.Widget.ActionBar.Title">
<item name="android:textColor">@color/actionbar_text</item>
</style>
<!-- ActionBar tabs text -->
<style name="MyActionBarTabText"
parent="@style/Widget.AppCompat.ActionBar.TabText">
<item name="android:textColor">@color/actionbar_text</item>
</style>
</resources>
Assign the new custom theme to the Android Application
- Open up the AndroidManifest.xml file in a text editor.
- In the application tag, change the theme to the new theme e.g. @style/CustomActionBarTheme.
- The following code snippet shows the relevant portion of the edited AndroidManifest.xml file.
<?xml version="1.0" encoding="utf-8"?>
<manifest xmlns:android="http://schemas.android.com/apk/res/android"
android:installLocation="auto"
package="com.dom925.demo" >
<application
android:name=".App"
android:allowBackup="true"
android:icon="@drawable/ic_launcher"
android:label="@string/app_name"
android:theme="@style/CustomActionBarTheme">
<!-- etc -->
</manifest>


