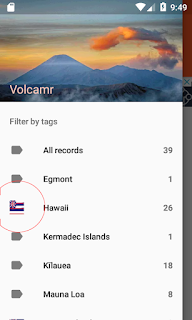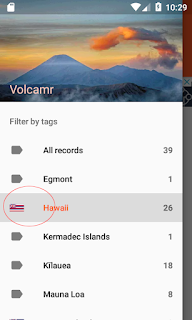
It is possible to extend the drawer by code to display non-rectangular icons but I prefer to adjust the SVG icon instead. The way I did it was to change the page size to a square and then placing a transparent square box around the page. The following steps illustrate:
Change the page to a square
- Open up the SVG icon in Inkscape.

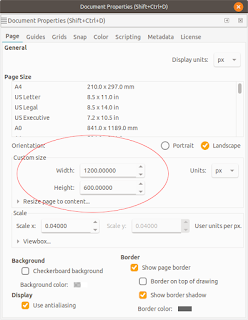
- Select File | Document Properties.

- Under the Page tab, change the Width and Height to be equal e.g. 1200 x 1200 px. Close the dialog box.
The page display changes to a square.
- Using the Align and Distribute tools, align the graphics to the middle of the page.

- Next, click the Create rectangles and squares (F4) icon. Place a stroke only, no-fill rectangle on the page.

- Change the width and height of the rectangle to match the page dimensions e.g. 1200 by 1200 px.

- Change the origin to the upper left corner of the page, e.g. X=0, Y=0.
- Open the Fill and stroke pane. Change the stroke opacity to low or zero opacity, e.g. 0.

- Save the file.
- In Android Studio, right click on the /path/to/app/res/drawables folder and choose New | Vector Asset.

- Toggle on Local File (PNG, SVG). Choose the new SVG icon file from the previous section.
- Click Next. Click OK.
The drawable is created.


