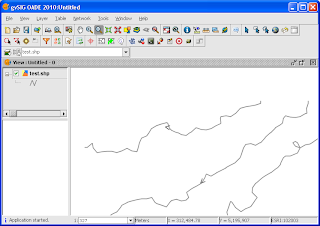
The steps to label the line work with "direction" indicators are outlined below.
- Start gvSIG OADE 2010. Open a map view and load in a line geometry file e.g. test.shp.

- In the legend (TOC) pane, click the line layer. Right click the layer name with the mouse.
A popup menu appears. - Choose Properties.
The Layer properties dialog box appears.
- Click the Labeling tab.
- Toggle on Enable labeling. In the General field, choose Advanced settings.
- In the Method field, choose the Label all features in the same way.
- Click the Placement button.
The Placement properties dialog box appears.
- In the Orientation group, choose Follow line.
- In the Position group, choose On the line. In the Orientation drop down list, choose Line.
- In the Along lines field, choose In the middle.
- Choose to Place one label per feature part. Click OK.
- Click the Properties button.
The Label class properties dialog box appears.
- Click the first row in the Label no. grid. Then click the [...] button.
The Expression dialog box appears.
- In the Expression field, type in "<". Click OK.
- Toggle on Label features in this class and choose All features. Click OK.
- Click OK.
The digitized line directions are indicated with the "<" character.

No comments:
Post a Comment