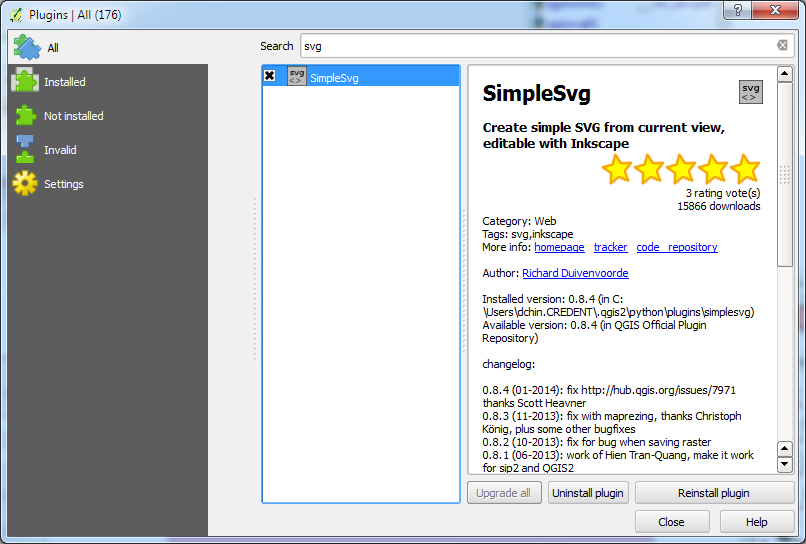
If the plugin is not installed in QGIS, simply run select Plugins | Manage and install Plugins... Then search for SimpleSvg, as shown below. Once located, just install it. There will be a Web pull down menu and an SVG icon in the tool bar.

- Using SimpleSvg is simple. Just display the layers you want to export to SVG. Resize the map view until you are happy with the extent.

- Then select Web | Save as SVG | Save as SVG.
The SimpleSvg dialog box appears.
- Type in the output SVG file path and name.
Note: On Windows, clicking the browse button will cause a Python error. So just key in the output file path and name.
- Click OK.
The SVG file is created.
- Open the resultant SVG file in a vector editing software such as Inkscape. Further cartographic editing can now be done on the resultant vector graphics.

Note: There is a bounding box feature in the resultant layer named qgisviewbox.
Each map feature is placed in its own layer, e.g. waterbody.
Each map feature is grouped together.

No comments:
Post a Comment