Monday, July 28, 2014

NSISDotNetChecker plugin for installing the .NET framework if not found

The free Microsoft Visual Studio Express versions do not come with built-in Setup and Deployment wizards so if an installer is required then alternative commercial or free tools must be used. One such free tool I found is the Nullsoft Scriptable Install System (NSIS) which can be downloaded from http://nsis.sourceforge.net/Main_Page.

Using NSIS is a little more inconvenient than using Microsoft Visual Studio's Setup and Deployment project - for one thing files and dependencies must be typed into a script file, and the .NET framework dependency must be handled manually.

I found a NSIS plug-in for checking and installing the .NET framework from this web site https://github.com/ProjectHuman/NsisDotNetChecker. Just follow the instructions on the website to install it on your machine and use it in the NSIS script. However, the script DotNetChecker.nsh that you have to include in your script has a problem and must be edited. If the DotNetChecker.nsh script is used as is, then your installer will never be able to detect and install the .NET framework.

The following change must be made to the DotNetChecker.nsh include script.

  1. Open up the file DotNetChecker.nsh in a text editor.


  2. Locate the following line:

    ${If} $0 == "false"
  3. Replace false with f as shown below:

    ${If} $0 == "f"
  4. Save and close the file.
Now the installer built with this modified DotNetChecker.nsh script will be able to detect and install the .NET framework if necessary.

Monday, July 21, 2014

Useful tool (Dependency Walker) to troubleshoot a DLL's missing dependencies

When using external or third party dynamic link libraries (DLL) such as liblas in your development, sometimes those libraries depend on other files or assemblies and when they cannot be found in the current location or in the system path, your program may throw up some run time errors. I found a nice time saving tool called the Dependency Walker (http://www.dependencywalker.com/) which can help troubleshoot the missing files of a DLL.

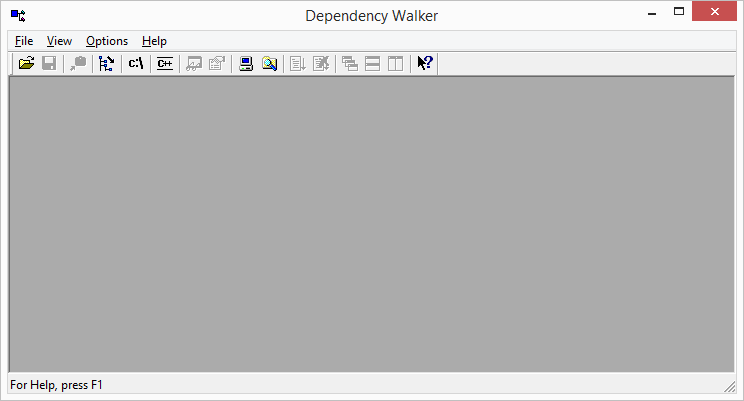
Using the tool is easy - just download and extract into a folder, then run the depends.exe file. The depends application window will pop up.

The following steps show an example of using this tool to identify the dependencies of my liblas1.dll.

  1. Drag and drop the file for analysis into the Dependency Walker application window.

    An error message may pop up.

  2. Press OK.
  3. Review the Module pane for the missing files. If possible, locate and copy the missing files to the location of the DLL.


  4. Select File | Close.
  5. Repeat step 1 to 3 until the errors no longer appear. 

Monday, July 14, 2014

Resolving the error "The name xxx does not exist in the namespace "clr-namespace:XXX" in Visual Studio 2012 for Windows Phone

In Windows Phone 8 development, it is possible to use the local project's public classes in a XAML file. But the local project's namespace has to be included in the XAML file by typing in the following:
xmlns:local="clr-namespace:Binding".
Here Binding refers to the namespace used by the class in the local project I want to use.

Then to use the local namespace in the XAML file to declare a class, I should do the following:
<local:MyData x:Key="MyData"
AppTitle="Real Estate Explorer" />

Everything looks fine, but the Visual Studio Intellisense underlines the local:MyData reference with the following error message:
The name "MyData" does not exist in the namespace "clr-namespace:Binding"

An example is shown below:

I could not figure out how to resolve the error; I did everything as described in the documentation. Eventually, I did a Build Solution (F7) on the project. After that, Visual Studio did not complain about the namespace anymore, as shown in the screenshot below.
 

Monday, July 7, 2014

Merge SpatiaLite polygon geometries with the GUnion operator in QGIS

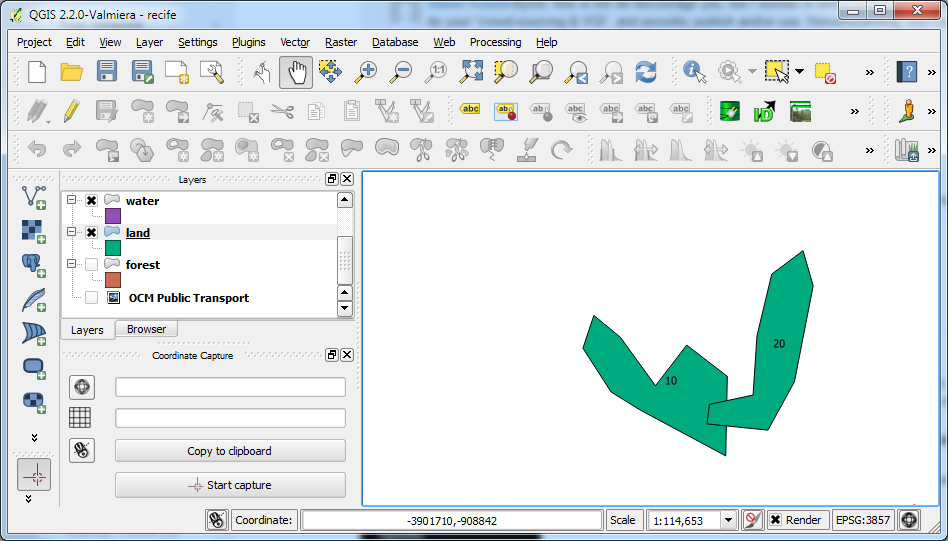
I wanted to merge two polygon geometries in a SpatiaLite database (an example is the land feature layer shown in the screenshot below) into a single geometry using QGIS.
Two SpatiaLite polygons labelled with the primary key id number.
In QGIS, the usual command to perform this task is the Union command, but unfortunately it creates only Shapefiles. The alternative is to use the QSpatiaLite plug-in and run some SQL commands to do the job. The following steps show how to merge two polygons into one polygon using the SpatiaLite GUnion operator.

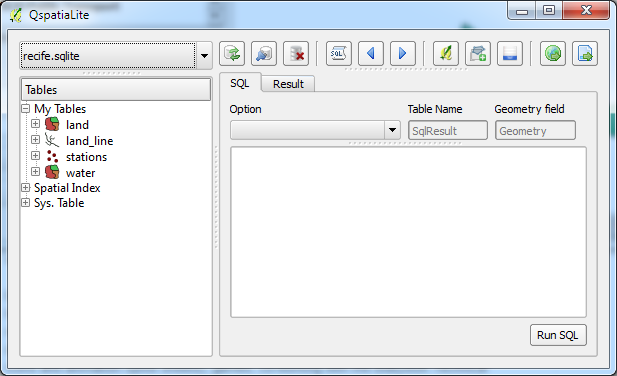
  1. In QGIS, select Database | SpatiaLite | QSpatiaLite.

    The QSpatiaLite dialog box appears.
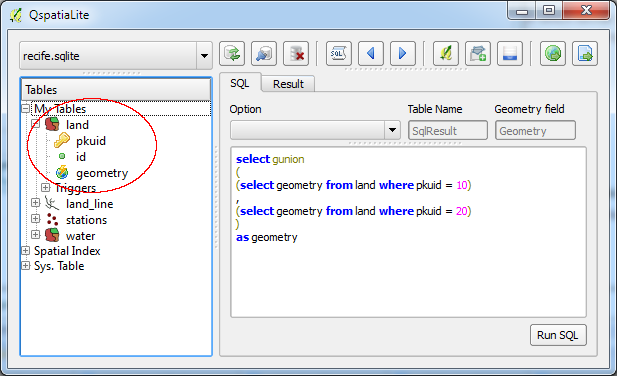
  2. Note down the primary key numbers or any suitable identifier of the polygons to be merged, e.g. pkuid 10 and 20.
  3. In the SQL tab field, type in the SQL command.

    SELECT GUNION
    (
    (SELECT geometry FROM land WHERE pkuid = 10)
    ,
    (SELECT geometry FROM land WHERE pkuid = 20)
    )
    AS geometry


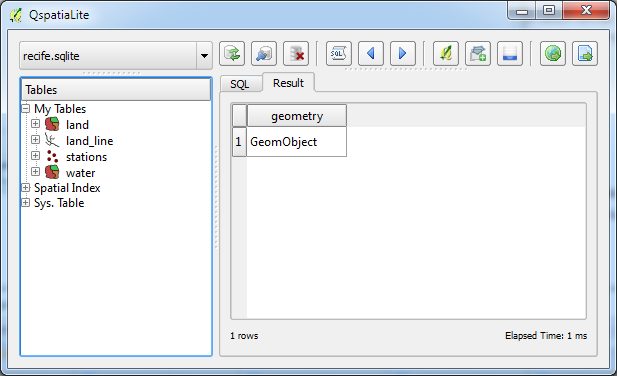
  4. Click Run SQL.

    A temporary new geometry object is created.


    Note: if the above SQL command execution is successful, then it is fine to proceed to create a new merged polygon feature and delete the original two polygons.
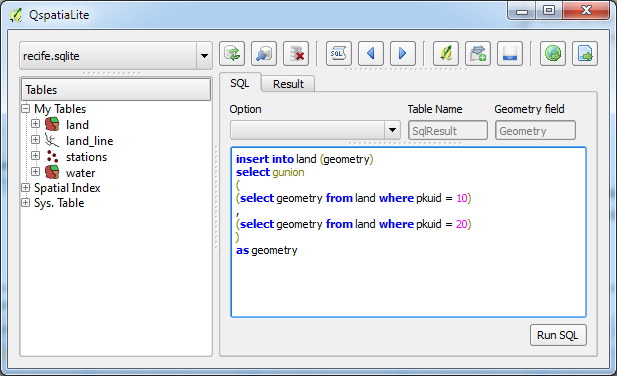
  5. In the SQL tab, type in the following SQL command to create and insert a merged polygon feature record.

    INSERT INTO land (geometry)
    SELECT GUNION
    (
    (SELECT geometry FROM land WHERE pkuid = 10)
    ,
    (SELECT geometry FROM land WHERE pkuid = 20)
    )
    AS geometry

  6.  Click Run SQL.

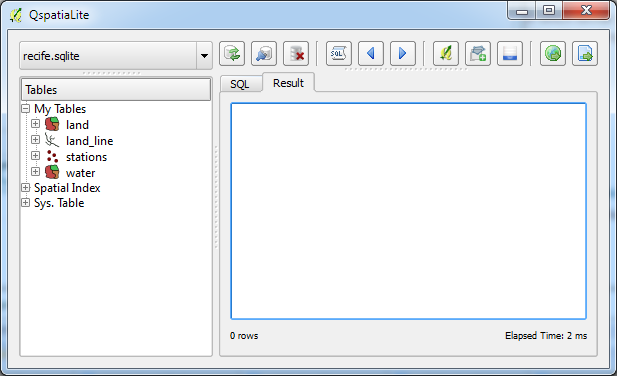
    A new row is inserted into the land table.
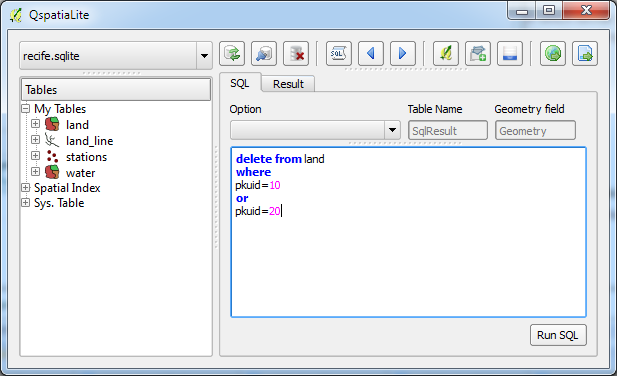
  7. In the SQL tab, type in the SQL command to delete the original two polygon features.

    DELETE FROM land WHERE pkuid = 10 OR pkuid = 20

  8. Click Run SQL.

    The original polygon features are deleted.
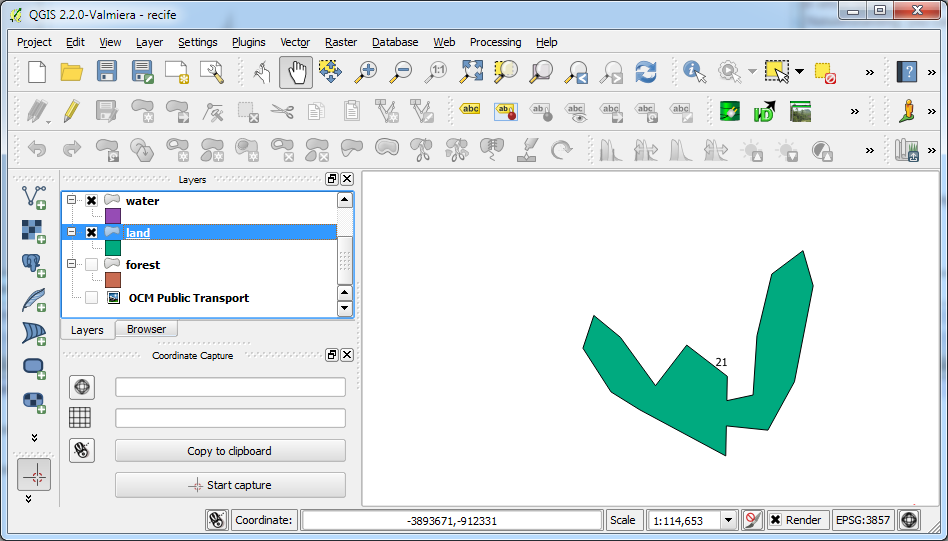
  9. Refresh the map view by toggling the land feature display off and on.

    The merged polygon is displayed.