After developing a Web Service API application in
Visual Studio, the next step may be to publish and deploy the application to an
Internet Information Server (IIS). Applications can be published as a package zip file, written straight to the file system, or uploaded to the Cloud provider
Azure. In this example, I will publish to a package zip file, then deploy the package to IIS.
- In Visual Studio's Solution Explorer pane, right click on the Web Service API project e.g. ProductsAPP.
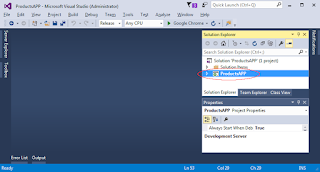
- In the pop up menu, choose Publish.
The Publish Web dialog box appears.
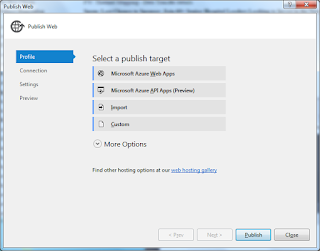
Note: if a profile has been created, the following screen will appear.
- In the Target list, choose Custom. Click Next.
The New Custom Profile prompt appears.
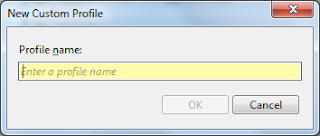
- Type in a profile name, e.g. ProductsAppProfile. Click OK.
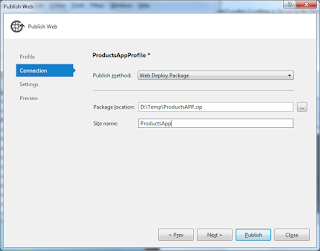
- In the Publish method field, choose Web Deploy Package. In the Package location, type in or browse to select a destination folder, e.g. D:\Temp\.
- Optional: Type in a Site name e.g. ProductsApp. Click Next.
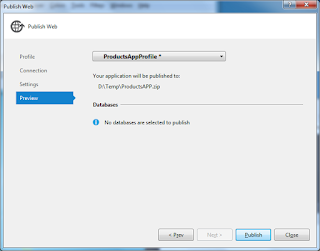
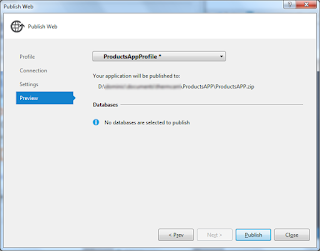
- Click Publish.
The package zip file is created.
Once the package zip file is created, it can then be deployed onto a supported
IIS platform.
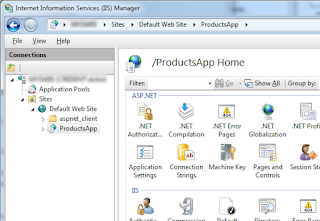
- On the web server, start the Internet Information Services (IIS) Manager by clicking Start | Control Panel | Administrative Tools | Internet Information Services (IIS) Manager.
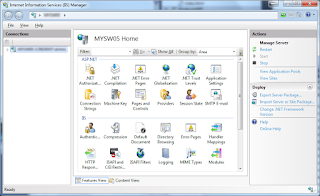
- In the Connection pane, expand the node.
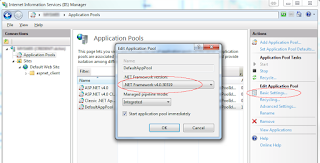
- Optional. Select Application Pools to check the pools whether they are running on .NET Framework 4+.
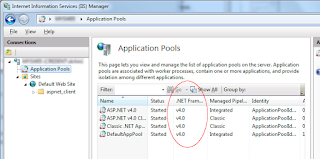
If the pool is running on Framework 2+, Framework 4+ must be installed. Then for each pool, select Basic Settings on the right and change to Framework 4+, as shown below.
- In the Connection pane, select a web site node e.g. Default web site.
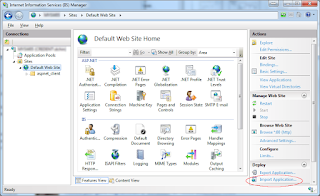
- In the Deploy section on the right, click Import Application.
Note: if there is no Import Application, then the Web Deployment Tool has to be installed. On my IIS 7+ system, I had to use version 2.1 to get the deploy commands. Versions 3.5 and Version 3.6 did not come with the Deploy commands.
The Import Application Package dialog box appears.
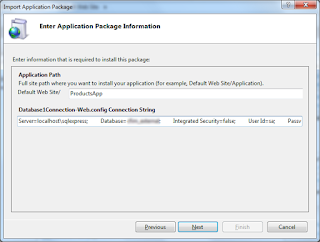
- Optional. If your application uses a SQL Server Database connection string, then the string can be edited here to change the server name, username, password.
- Click Next.
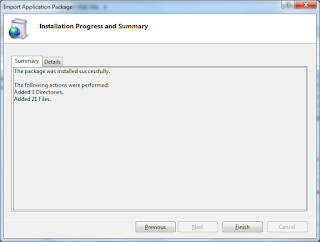
The package is deployed.


No comments:
Post a Comment