
 gvSIG's Modeler function can be used to create reusable models of processes that can be applied on geographical vector and raster data layers. For example, if you need to periodically generate centroids and calculate the centroid coordinates from polygon vector layers, then it may be worthwhile to use the Modeler. Once you have a model of the processes created, it is a simple matter to reload the model and run it.
The models are almost similar to programming scripts except that you don't need to be a developer to create them. You simply use a graphical user interface to point and click to define the model. The example below shows how easy it is to create the model with the Modeler.
Create a New Model
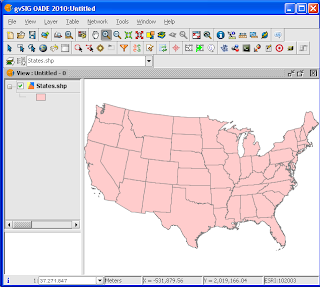
- Start gvSIG OADE 2010. Load and display a vector polygon layer e.g. C:\data\States.shp.
- Click the Modeler
 icon in the tool bar.
The Modeler dialog box appears.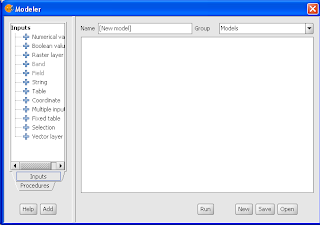
- In the Inputs tree, double click on Vector layer.
A dialog box appears.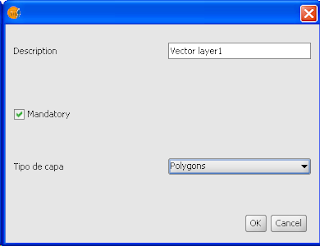
- In the combo box, choose Polygons. Click OK.
The Vector layer1 icon appears in the Modeler dialog box. - Click the Procedures tab. Under the Procedures | Algorithms tree, expand the Tools for polygon layers node. Double click Centroids.
A dialog box pops up.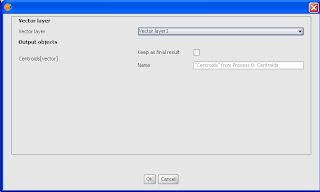
- Click OK.
A Centroids icon appears connected to the Vector layer1 icon in the Modeler dialog box. - Under the Procedures | Algorithms tree, expand the Tools for point layers node. Double click Add coordinates to points.
A dialog box appears.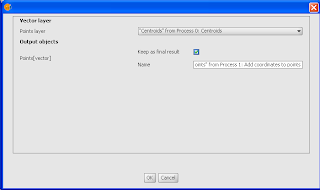
- Toggle on Keep as final result.
- Optional. In the Name field, type in the output point layer name.
- Click OK.
The Add coordinates to points icon is displayed connected to the Centroids icon in the Modeler dialog box.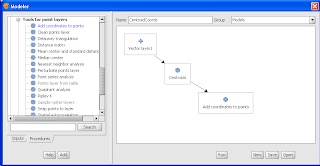
Note: To save the model, click Save and specify the output file path and name.


Running a Model
- Click Run.
The [Model] dialog box appears.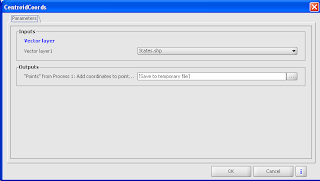
- In the Inputs Vector layer field, choose a polygon layer e.g. States.shp.
- Optional. In the Outputs field, type in a new output Shape file path and name.
- Click OK.
The processes defined by the model is executed and the output layer(s) is created.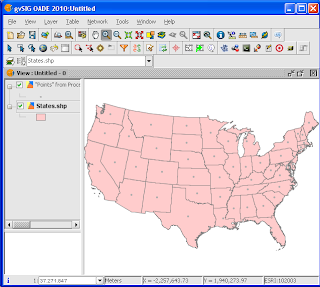
- Close the Run model dialog box.
- Optional. To review the centroid point coordinates, select the newly created layer in the legend and choose Layer | Show attribute table.
The attribute table appears as shown below. Note the two newly created X and Y attribute fields.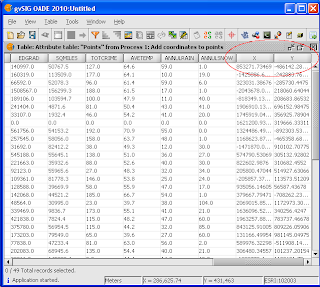


No comments:
Post a Comment