If they are not already installed, simply run Visual Studio Code and install the following extensions:
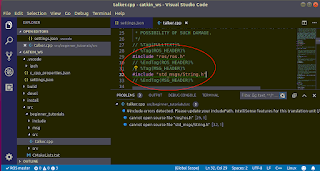
Another thing that can be helpful is to configure the Microsoft C/C++ extension to include the ROS header include files. If the extension is unable to locate the ROS header files, the code editor will show wavy green lines under the header files, as shown in the screenshot below.

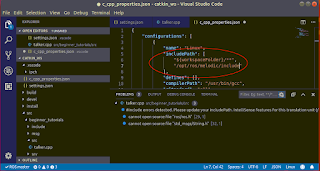
To get rid of these wavy lines, the C/C++ properties (c_cpp_properties.json) file need to be edited to add in the ROS header include directory, e.g. /opt/ros/melodic/include/.
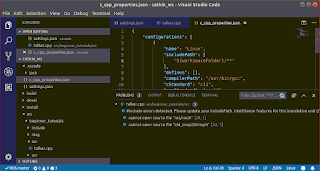
The following screenshots show the c_cpp_properties.json file and the includePath configuration array.

Append the path "/opt/ros/melodic/include" to the includePath array variable as shown below.

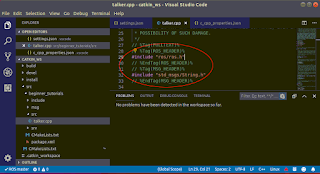
Then save and restart Visual Studio Code. Observe that the green wavy lines are no longer displayed.


1 comment:
This was really helpful, it worked for me Thanks !!!
Post a Comment