Showing posts with label AdMob. Show all posts

Monday, August 17, 2020

Android Studio: Fix for Default Activity not found warning

Recently after upgrading Android Studio to version 4.x, I found some of my old Android projects showing a warning message: "Warning: Default Activity not found" when I tried to run the project in the emulator; and Android Studio would not be able to launch the app. 

I tried the following:

  • Build | Clean project in Android Studio
    • Invalidate Caches / Restart in Android Studio
  • Verified AndroidManifest.xml is declaring the main activity correctly
  • Deleted the Android Studio caches - .idea/, .gradle/, *.iml

None worked.

When I tried to edit the run configuration, no matter what launch options I chose, the warning message still persisted, as shown in the screenshot below and I could not run the application. 

Finally, systematically I discovered the problem to be related to the Google Play Services AdMob dependency. The app's build.gradle snippet below shows the dependency.

dependencies { 
 
 implementation 'com.google.android.gms:play-services-ads:19.3.0'

}

Note: When using the newer Google Play Services Ads, the minimum SDK must now be set to at least 16. 

The screenshot below shows the Android Studio project when using 14 as the minimum SDK level. Notice the large red cross.

The screenshot shows the state of the Android Studio project after changing the minimum SDK level to 16 and selecting File | Sync Project with Gradle Files. Notice the large red cross is no longer displayed. Android Studio should be able to launch the app from this point on.
 

Monday, September 22, 2014

Example Windows Phone 8 C# code to show AdMob interstitial ad on start up

I did not find examples on the net illustrating how to show an AdMob interstitial advertisement when a Windows Phone 8 app is started. So here is an example I wrote using C#, basing it on an Android example. In a nutshell, the following need to be done:

  1. Create a splash screen XAML file
  2. Edit the splash screen code behind file
  3. Set the splash screen XAML as the start up object
  4. Override the Windows Phone 8 app main page XAML's OnNavigatedTo method to prevent the back key from bringing up the splash screen
Create a splash screen XAML
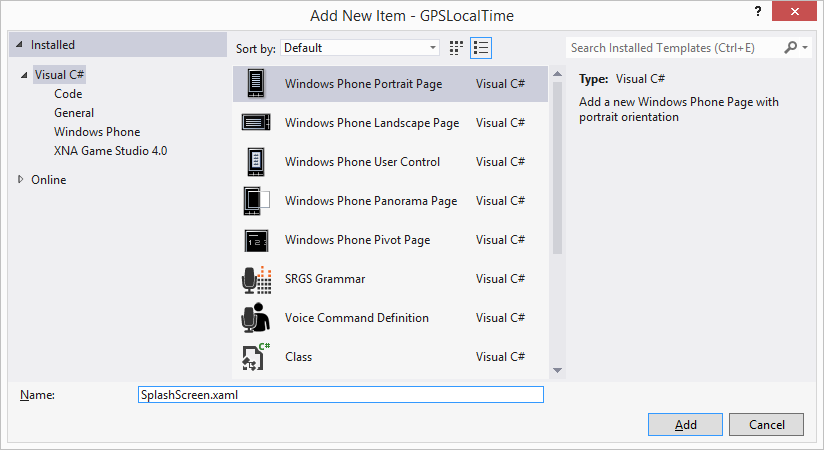
  1. In Visual Studio, add a New Item to the Windows Phone 8 project. Give it a name e.g. SplashScreen.xaml.


  2. Edit the newly created splash screen XAML file to your liking. In this example, we want to display only a progress bar without any text, as shown in the code below.

<phone:PhoneApplicationPage
x:Class="dominoc925.GPSLocalTime.SplashScreen"
xmlns="http://schemas.microsoft.com/winfx/2006/xaml/presentation"
xmlns:x="http://schemas.microsoft.com/winfx/2006/xaml"
xmlns:phone="clr-namespace:Microsoft.Phone.Controls;assembly=Microsoft.Phone"
xmlns:shell="clr-namespace:Microsoft.Phone.Shell;assembly=Microsoft.Phone"
xmlns:d="http://schemas.microsoft.com/expression/blend/2008"
xmlns:mc="http://schemas.openxmlformats.org/markup-compatibility/2006"
FontFamily="{StaticResource PhoneFontFamilyNormal}"
FontSize="{StaticResource PhoneFontSizeNormal}"
Foreground="{StaticResource PhoneForegroundBrush}"
SupportedOrientations="PortraitOrLandscape" Orientation="Portrait"
mc:Ignorable="d"
shell:SystemTray.IsVisible="True">
 
<!--LayoutRoot is the root grid where all page content is placed-->
<Grid x:Name="LayoutRoot" Background="Transparent">
<Grid.RowDefinitions>
<RowDefinition Height="Auto"/>
<RowDefinition Height="*"/>
</Grid.RowDefinitions>
 
<!--TitlePanel contains the name of the application and page title-->
<StackPanel Grid.Row="0" Margin="12,17,0,28">
</StackPanel>
 
<!--ContentPanel - place additional content here-->
<Grid x:Name="ContentPanel" Grid.Row="1" Margin="12,0,12,0">
<ProgressBar Margin="10" IsIndeterminate="True" />
</Grid>
</Grid>
 
</phone:PhoneApplicationPage>

Edit the splash screen code behind file

  1. In Visual Studio, open the splash screen code behind file e.g. splashscreen.xaml.cs.
  2. Code in the following:


using System;
using System.Collections.Generic;
using System.Linq;
using System.Net;
using System.Windows;
using System.Windows.Controls;
using System.Windows.Navigation;
using Microsoft.Phone.Controls;
using Microsoft.Phone.Shell;
using GoogleAds;
using System.Threading;
 
namespace dominoc925.GPSLocalTime
{
public partial class SplashScreen : PhoneApplicationPage
{
//The time to wait for the ad to load in milliseconds
private static int WAIT_TIME = 5000;
private static string INTERSTITIAL_AD_UNIT_ID = "ca-app-pub-xxxxxxxxxxxxxxxxxx";
#if DEBUG
private static bool ADMOB_FORCE_TESTING = true;
#else
private static bool ADMOB_FORCE_TESTING = false;
#endif
private static Timer _waitTimer;
private static bool _interstitialCanceled = false;
 
private InterstitialAd _interstitialAd;
 
public SplashScreen()
{
InitializeComponent();

_interstitialAd = new InterstitialAd(INTERSTITIAL_AD_UNIT_ID);

//Set up the Ad event listeners
_interstitialAd.ReceivedAd += OnAdReceived;
_interstitialAd.FailedToReceiveAd += OnAdFailedToLoad;
_interstitialAd.DismissingOverlay += OnAdDismissed;
 
AdRequest adRequest = new AdRequest();
adRequest.ForceTesting = ADMOB_FORCE_TESTING;
_interstitialAd.LoadAd(adRequest);
 
TimerCallback callback = new TimerCallback(ProcessTimerEvent);
_waitTimer = new Timer(callback, this, WAIT_TIME, Timeout.Infinite);
}
//Cancel the timer when the waiting time has been reached and show the App's main page.
private void ProcessTimerEvent(object obj)
{
_interstitialCanceled = true;
_waitTimer.Dispose();
 
Dispatcher.BeginInvoke(() =>
{
NavigationService.Navigate(new Uri("/MainPage.xaml", UriKind.Relative));
});
}
//Display the App's main page when the user dismisses the ad 
private void OnAdDismissed(object sender, AdEventArgs e)
{
NavigationService.Navigate(new Uri("/MainPage.xaml", UriKind.Relative));
}
//Display the App's main page when the ad fails to load
private void OnAdFailedToLoad(object sender, AdErrorEventArgs e)
{
_waitTimer.Dispose();
NavigationService.Navigate(new Uri("/MainPage.xaml", UriKind.Relative));
}
//Show the ad only when the ad has been received and within the waiting time 
private void OnAdReceived(object sender, AdEventArgs e)
{
if (!_interstitialCanceled)
{
_waitTimer.Dispose();
_interstitialAd.ShowAd();
}
}
}
}
Set the splash screen XAML file as the start up object

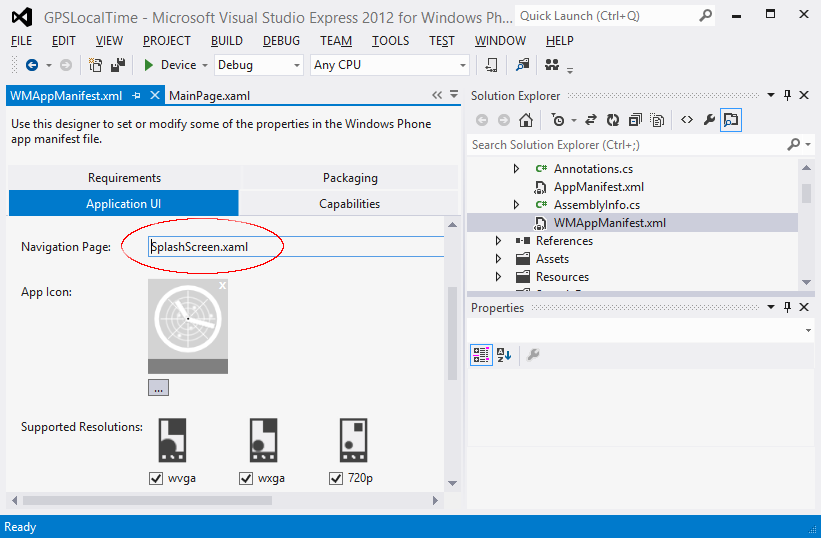
  1. In Visual Studio, open up the file WMAppManifest.xml file in the designer.

  2. In the Navigation Page field, type in the name of the splash screen XAML file e.g. SplashScreen.xaml.

Override the main page's OnNavigatedTo method
  1. In Visual Studio, open up the main page's code behind file e.g. MainPage.xaml.cs.

  2. In the code editor, change the OnNavigatedTo method to the following:
protected override void OnNavigatedTo(NavigationEventArgs e)
{
base.OnNavigatedTo(e);
if (NavigationService.BackStack.Count() == 1)
{
NavigationService.RemoveBackEntry();
}
}

Note: This will remove the splash screen XAML from the back stack i.e. when the user press the back button, the splash screen will not be loaded again.

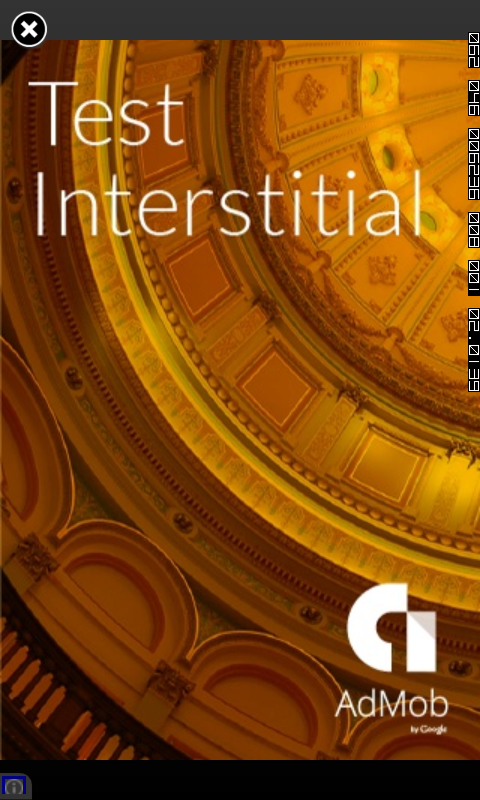
Now when the Windows app is run, the splash screen will load and may display an interstitial ad as shown below.

Monday, March 3, 2014

Example code to hide and show the Google Play Services Smart Banner AdView depending on the data connection

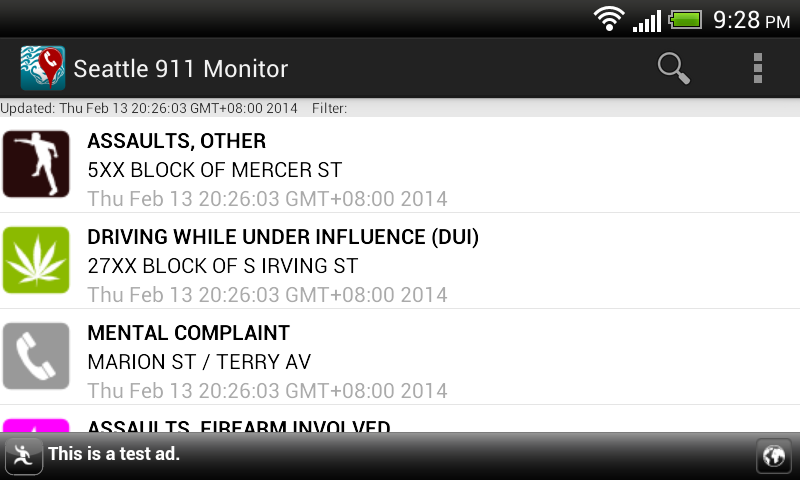
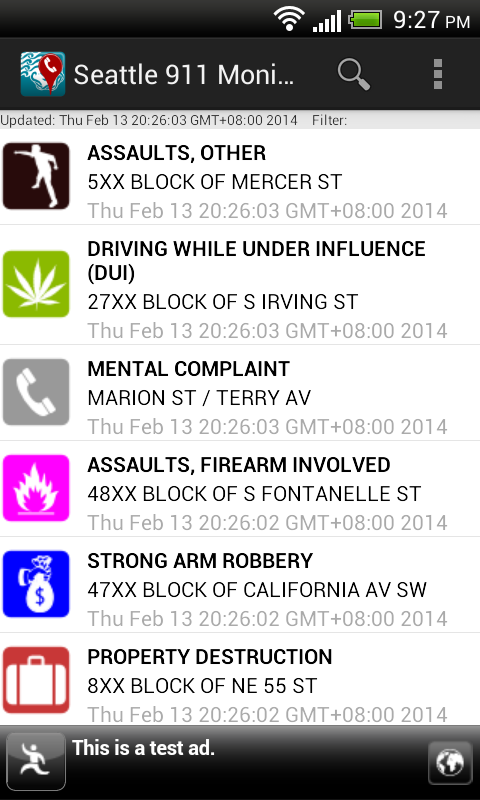
A smart banner ad is displayed at the bottom of the app
The Smart Banner ad unit type in the legacy AdMob SDK (6+) can render screen-wide banner ads on any screen size in any orientation. Using it is easy - simply declare the AdView component as a smart banner type with appropriate attributes in an Android activity layout XML file and it will be ready to serve ads - all without having to write a single line of Java code. The Smart Banner will automatically hide or show itself, depending whether the data connection is disabled or enabled when the app is opened; if there is no data connection, then the ad will be hidden. If the data connection is closed after the app has been opened, keep the ad displayed.


However, the old AdMob 6+ SDK will be replaced with the new ads SDK in the Google Play Services. Java code is required to use the Smart Banner AdView. I wanted  the AdView in the new Google Play Services SDK to behave as in the legacy AdMob SDK i.e. hide itself when there is no data connection, and show itself when there is. The following example code snippets show how to do it.

Declare the Smart Banner AdView in the activity layout XML file


<LinearLayout xmlns:android="http://schemas.android.com/apk/res/android"
xmlns:tools="http://schemas.android.com/tools"
android:id="@+id/LinearLayout1"
android:layout_width="match_parent"
android:layout_height="match_parent"
android:orientation="vertical"
tools:context=".MainActivity" >
 
<!-- 
Add your layout views here. The total layout weight should be 1...
    <FrameLayout 
        android:id="@+id/map_detail_container"
        android:layout_width="match_parent"
        android:weightSum="1"
        android:layout_height="0dip"
        />
-->

<fragment        
android:id="@+id/eventListFragment"
android:name="com.dom925.EventListFragment"
android:layout_width="fill_parent"
android:layout_height="0dp"
android:layout_weight="1.0" />
<com.google.android.gms.ads.AdView
xmlns:ads="http://schemas.android.com/apk/res-auto"
android:id="@+id/mainAdView"
android:layout_gravity="center_horizontal"
android:layout_width="match_parent"
android:layout_height="wrap_content"
ads:adSize="SMART_BANNER"
ads:adUnitId="a152fa33f70c96X"
/>

Code an Ad Listener class to hide and show the AdView
This listener will hide the AdView when it is constructed. When an ad has been loaded, it will display the AdView.

package com.dom925.cadmon.seattle;
 
import android.content.Context;
import android.view.View;
import android.widget.Toast;
 
import com.google.android.gms.ads.AdListener;
import com.google.android.gms.ads.AdRequest;
import com.google.android.gms.ads.AdView;
 
public class GoogleAdListener extends AdListener {
private Context _context;
private AdView _adView;
 
public GoogleAdListener(Context context, AdView adView) {
this._context = context;
_adView = adView; 
//Hide the AdView on creation
_adView.setVisibility(View.GONE);
}

@Override
public void onAdLoaded() {
//Display the AdView if an Ad is loaded
_adView.setVisibility(View.VISIBLE);
}
}

Code the Activity to use the AdView


public class MainActivity extends FragmentActivity
{
//Declare a variable for my AdView
private AdView _adView = null;

@Override
protected void onCreate(Bundle savedInstanceState) {
super.onCreate(savedInstanceState);
setContentView(R.layout.activity_main);
 
//Initialize my AdView and assign the Ad listener to the view
_adView = (AdView)findViewById(R.id.mainAdView);
_adView.setAdListener(new GoogleAdListener(this, _adView));

//Make a request for an ad
requestGoogleAd(_adView);
 
}
 
@Override
protected void onResume() {
super.onResume();
//Show the AdView if the data connection is available
if (checkDataConnection()==true){
_adView.setVisibility(View.VISIBLE);
}        
_adView.resume();
}
@Override
protected void onPause() {
_adView.pause();
super.onPause();
}
@Override
protected void onDestroy() {
_adView.destroy();
super.onDestroy();
}
private void requestGoogleAd(AdView adView){
AdRequest adRequest = new AdRequest.Builder()
.addTestDevice(AdRequest.DEVICE_ID_EMULATOR)
.addTestDevice("541603DA032A1B8626E5C8EA6FA2AADX")
.build();
adView.loadAd(adRequest);                        
}
 
private boolean checkDataConnection(){
boolean status = false;
ConnectivityManager connectivityMgr = (ConnectivityManager)getSystemService(Context.CONNECTIVITY_SERVICE);
if (connectivityMgr.getActiveNetworkInfo()!=null && 
connectivityMgr.getActiveNetworkInfo().isAvailable() &&
connectivityMgr.getActiveNetworkInfo().isConnected()) {
status = true;
} 
return status;
}    
}
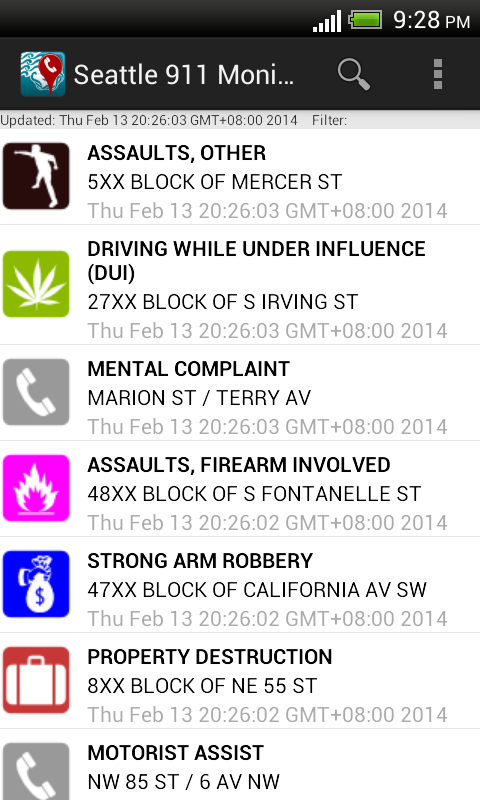


The AdView is not displayed when the app is started without a data connection. 


When the data connection is enabled, the AdView is shown when the app is resumed