Showing posts with label SpatiaLite. Show all posts

Monday, October 24, 2022

QGIS unable to edit SpatiaLite database layer workaround

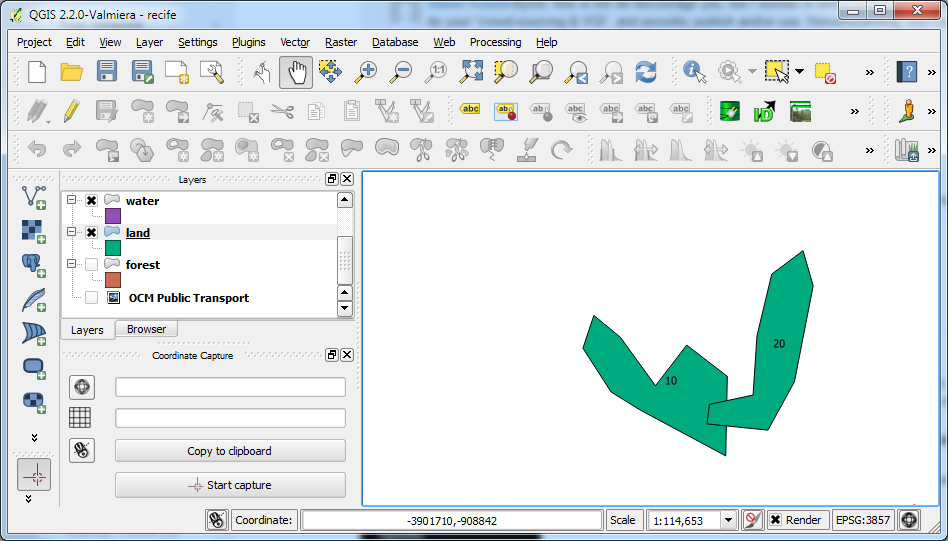
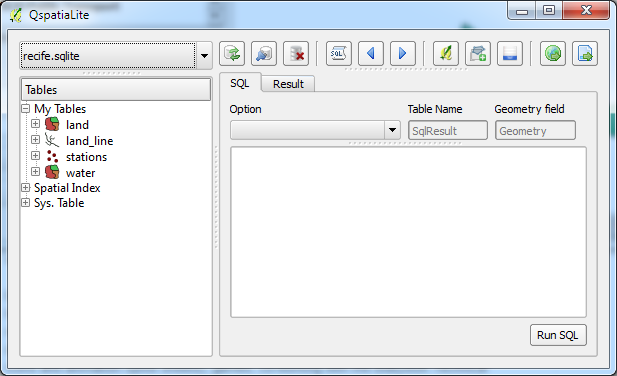
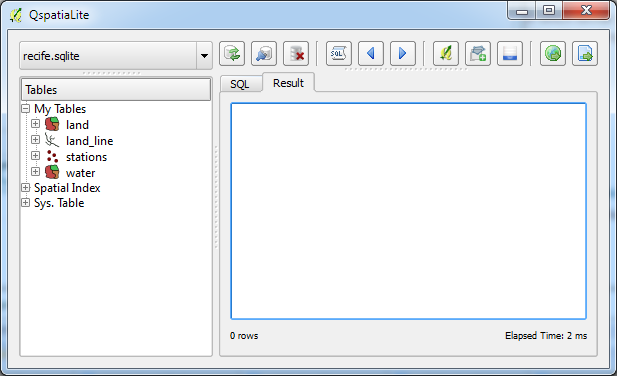
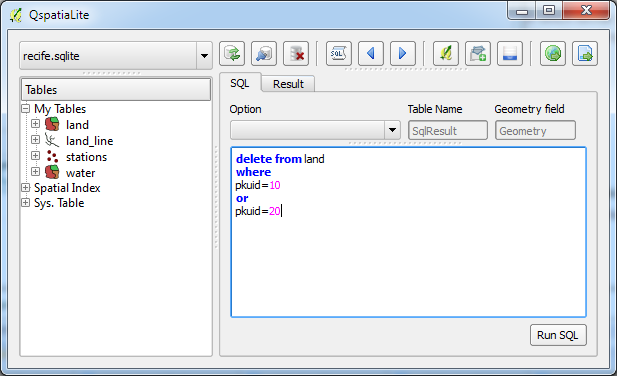
Recently I upgraded to QGIS 3.26 on Ubuntu 22.04 and found that I was unable to edit my existing SpatiaLite database layers, i.e. the Toggle Editing tool bar icon could not be enabled. The screenshot below illustrates the problem.

While I have not found the cause of the problem, I found a simple workaround to the issue: just create a new SpatiaLite database and import the layers from the old database. The newly imported database layers can be enabled for editing. 


Create a new SpatiaLite database

  1. In the Browser pane of QGIS, press the right mouse button on the SpatiaLite node.


    A pop up menu appear.

  2. Choose Create New Database.


  3. In the Name field, type in a new SpatiaLite database file name, e.g. new_rail.sqlite. Click Save.

    The database is created.


Import layers from the old SpatiaLite database to the new SpatiaLite database

  1. If the layer e.g. node from the old SpatiaLite database e.g. rail.sqlite is not displayed in QGIS, then add the layer to the map window.


  2. In the QGIS menu, select Database | DB Manager.

    The DB Manager dialog box appears.


  3. Expand the SpatiaLite Providers tree node and double click on the newly created SpatiaLite database, e.g. new_rail.sqlite.


  4. Click Import Layer/File.

    The Import vector layer dialog box appears.


  5. In the Input drop down list, choose the layer from the old database, e.g. nodes. In the Output Table field, type in a new table name, e.g. nodes. Click OK.

    The old layer is imported into the new database.

Displaying the newly imported Spatialite layer

  1. In QGIS, select Layer | Add Layer | Add SpatiaLite Layer.


  2. In the Connections drop down list, select the new SpatiaLite database, e.g. new_rail.sqlite. Click Connect.

  3. In the table list, select the new layer nodes. Click Add.

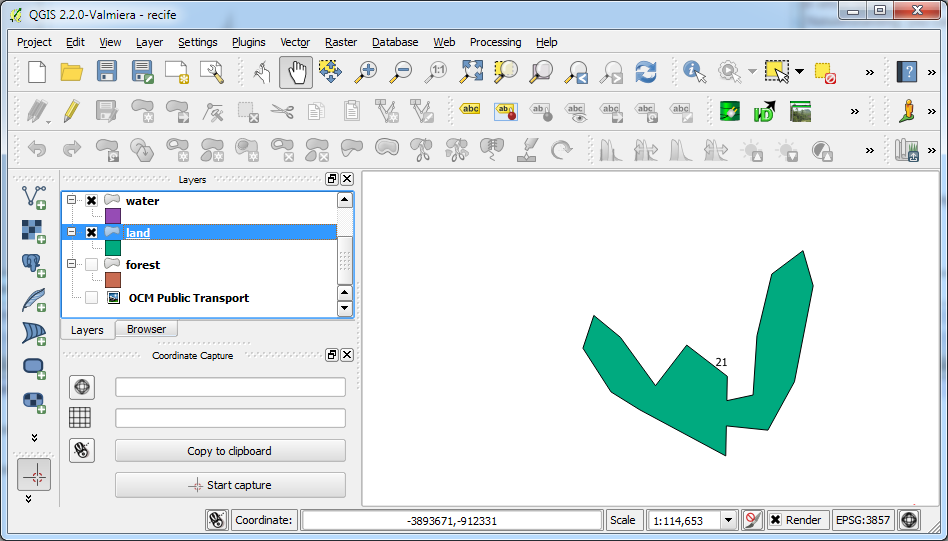
    The new nodes layer is displayed in the map window.


  4. Select the new layer nodes in the Legend pane.

    The Toggle Editing icon is enabled now.


Monday, October 17, 2016

Example efficient two pass Spatialite query to find if a point is inside a polygon

A spatial query can be expensive to run in terms of CPU processing power. In order to improve the query performance, typically, a first pass query is done to reduce the candidates first before running a second pass query to do actual spatial query. The following is an example using SpatiaLite to perform a two pass spatial query to find whether a point is contained within a polygon.
Point 1 is totally outside of any polygons; Point 2 is outside but within a bounding rectangle of a polygon; Point 3 is totally inside a polygon.
The two pass SpatiaLite query has the following syntax.
Note: the first approximate query uses the MBRCONTAINS function and the second finer query uses the ST_CONTAINS function.
SELECT ST_CONTAINS(polygonGeometry, geomfromtext('POINT(116.4688 -31.5502)', 4326))
FROM(
SELECT
polygonGeometry,
MBRCONTAINS(polygonGeometry, geomfromtext('POINT(116.4688 -31.5502)', 4326)) AS inMBR
FROM
(
SELECT geometry AS polygonGeometry FROM MyPolygon
)
WHERE inMBR = 1
)


Case 1: Totally outside 
For Point 1 (Totally outside), the query returns no rows since the point is outside of any bounding rectangles, as shown in the screenshot below.


Case 2: Outside of any polygons but within a bounding rectangle
For Point2, the query returns a result of 0 value, since the point is inside a bounding rectangle but outside of any polygon.

Case 3: Totally inside a polygon
For Point 3, the query returns a result of 1 since the point is inside a bounding rectangle and also inside a polygon.


Monday, October 10, 2016

Simple C# example for creating and using a Spatialite database

A Spatialite database is just a SQLite database loaded with Spatialite module extensions including tables, triggers, functions etc. It is therefore possible to access a Spatialite database using the SQLite .Net Wrapper from https://system.data.sqlite.org and with the Spatialite module extension library mod_spatialite-x.x.x from http://www.gaia-gis.it/gaia-sins/, otherwise the spatial functions will not be available to your C# code.

While the Spatialite database can be created using the SQLite wrapper and the Spatialite module extension, the newly created database lacks all the Spatialite tables, triggers etc. necessary for proper functioning of the Spatialite database. I would need to run some initialization SQL to create all the required Spatialite tables, triggers, etc. So instead, I found it more convenient to create a template Spatialite database with the Spatialite executable beforehand. Then in the C# program, just simple copy the template to create a new Spatialite database.

 The following is an example C# code snippet illustrating creating a new Spatialite database from a pre-prepared template and making a SQL query reading some Spatialite geometry fields from the database.

1
 2
 3
 4
 5
 6
 7
 8
 9
10
11
12
13
14
15
16
17
18
19
20
21
22
23
24
25
26
27
28
29
30
31
32
33
34
35
36
37
38
39
40
41
42
using System.Data.SQLite;

//...etc...

string pathTemplate = @"\path\to\spatiaLiteTemplate.db";
string destDbFilename = @"\path\to\dest.db";

// Copy the template Spatialite file to the destination Spatialite file
File.Copy(pathTemplate, destDbFilename);

// Create Spatialite SQL Connection
string connectString = "Data Source=" + destDbFilename + ";Version=3;";
SQLiteConnection connection = new SQLiteConnection(connectString);

// Open the database and load in the Spatialite extension
connection.Open();
connection.LoadExtension("mod_spatialite");

// ...etc ...

// Make some Spatialite function calls
string sql = "SELECT ST_MINX(geometry), ST_MINY(geometry), ST_MAXX(geometry), ST_MAXY(geometry) FROM somefeature ";

using (SQLiteCommand command = new SQLiteCommand(sql, connection))
{
 using (SQLiteDataReader reader = command.ExecuteReader())
 {
  while (reader.Read())
  {
   double minX = reader.GetDouble(0);
   double minY = reader.GetDouble(1);
   double maxX = reader.GetDouble(2);
   double maxY = reader.GetDouble(3);
  }
 }
}

// Close and clean up the database connection
connection.Close();
connection.Dispose();
 
//...etc... 


Monday, November 3, 2014

Convert MultiLineString geometries to LineString using SpatiaLite SQL

Recently I made a mistake in creating a linear feature as a multi-line string instead of a plain line string geometry in SpatiaLite. I really did not want to digitize the features again so I decided to use SQL statements to convert the existing multi-line string geometries to line strings.

The following simple example shows how to do the conversion from a multi-line string table roads to a new line string table newroads. The basic steps involve (1) creating a new table, (2) populate the new table, (3) updating the new table with the line string geometry, (4) fixing the spatial metadata.
The table roads with the incorrect Multi-Line String geometry

Create a new table

  1. In SpatiaLite, type in the following SQL statement to create a new empty table newroads from the roads table. Execute the statement.

    CREATE TABLE newroads AS SELECT * FROM roads LIMIT 0

    A blank table is created with the same structure as the roads table.

Populate the new table with the textual attribute values
  1. In SpatiaLite, type in the following SQL statement to copy the rows (without the geometry field) from the original roads table into the new table newroads.

    INSERT INTO newroads(pkuid,name)SELECT pkuid,name FROM roads 
  2. Execute the SQL statement.

    All the rows are copied into the new table newroads.

    A simple query of the new table newroads show that all fields are populated with the exception of the geometry field, which remains as null.


Update the geometry field
  1. In SpatiaLite, type in the following SQL statement to form the SQL update statements to populate the geometry field.

    SELECT
    'UPDATE newroads SET Geometry='||'ST_GeomFromText('''||
    AsText(Geometry)||
    ''', 4326) WHERE pkuid='||
    pkuid||';' FROM roads


    Note: 4326 is the coordinate system reference used for the roads feature.
  2. Execute the statement.

    The update SQL statements are generated.

  3. In SpatiaLite GUI, click the grey area above and left of the resultant rows, as shown above.

    All the resultant rows are selected.
  4. Mouse right click on the selected rows.

    A pop up menu appears.

  5. Choose Copy.

    The resultant rows are copied to the OS Clipboard.
  6. In a text editor, paste the rows into a new file, e.g. demorun.sql.


  7. Change all occurrences of the string "MULTILINESTRING" to "LINESTRING".
  8. Change all occurrences of the string "((" to "(".
  9. Change all occurrences of the string "))" to ")".

    The statements should now look like the following example.

    UPDATE newroads SET Geometry=ST_GeomFromText('LINESTRING(-123.013367 49.328037, -122.980708 49.353917, -122.981324 49.386576, -122.975779 49.409992)', 4326) WHERE pkuid=1;
  10. Save the changes.
  11. In SpatiaLite, click the Execute SQL script button as shown below.


    The SQL Script Windows appears.

  12. Select the newly created SQL script file, e.g. demorun.sql. Click Open.

    The geometry field in newroads is updated.


Fix the spatial metadata
  1. In SpatiaLite GUI, mouse right click on the geometry field of the new table newroads.

    A pop up menu appears.

  2. Choose Recover geometry column.

    The Recover geometry column dialog box appears.
  3. In the SRID field, type in the coordinate system SRID value e.g. 4326.
  4. In the Dims field, choose the appropriate dimension of the geometry field, e.g. XY.
  5. In the Geometry Type list, choose LINESTRING.
  6. Click OK.

    The geometry field is recovered.


Monday, October 20, 2014

Using SpatiaLite GUI to create a point geometry table from an ordinary table

Sometimes I have an ordinary table with numerical latitude and longitude columns and I need to construct a point geometry table from the records in the normal table, e.g. stations_raw. An example of such a table is shown in the screenshot below.

In the SpatiaLite GUI, enter the following SQL command to create a new table named stations:
CREATE TABLE stations AS 
SELECT
PK_UID,
code,
name,
ST_GeomFromText(
'POINT('||lng||' '||lat||')'
4326
)
AS Geometry
FROM stations_raw

Note: 4326 in the example command is just the geographical coordinate system SRID of the data.

Execute the command.


The table stations is created.


The table is still a non-spatial table. In order to change it to a spatial table, the following steps need to be done.

  1. In the SpatiaLite GUI, press mouse right click on the geometry column.


  2. In the pop up menu, choose Recover geometry column,

    The Recover Geometry column dialog box appears.

  3. In the SRID field, type in the data's SRID e.g. 4326 for geographical latitude and longitude data.
  4. In the Dims field, choose the appropriate dimensions of the data, e.g. XY for 2-D.
  5. In the Geometry field, choose the appropriate geometry of the data, e.g. POINT for point data.
  6. Press OK.

    If the parameters are correct, the following message will appear.


    The GUI should show the table as a spatial table (with a globe).


Sunday, October 12, 2014

Example SpatiaLite query to find neighbors of a polygon

A common spatial query is to find all the neighbor polygons touching a subject polygon. The screenshot below shows a SpatiaLite database of selected country feature polygons.

If you want to find all the neighboring countries of the country Canada, the following SpatiaLite SQL query can be used.
select b.name
from country a, country b
where touches(a.geometry, b.geometry)
and a.name = 'Canada'


The result 'USA' is returned.
 

Monday, July 7, 2014

Merge SpatiaLite polygon geometries with the GUnion operator in QGIS

I wanted to merge two polygon geometries in a SpatiaLite database (an example is the land feature layer shown in the screenshot below) into a single geometry using QGIS.
Two SpatiaLite polygons labelled with the primary key id number.
In QGIS, the usual command to perform this task is the Union command, but unfortunately it creates only Shapefiles. The alternative is to use the QSpatiaLite plug-in and run some SQL commands to do the job. The following steps show how to merge two polygons into one polygon using the SpatiaLite GUnion operator.

  1. In QGIS, select Database | SpatiaLite | QSpatiaLite.

    The QSpatiaLite dialog box appears.
  2. Note down the primary key numbers or any suitable identifier of the polygons to be merged, e.g. pkuid 10 and 20.
  3. In the SQL tab field, type in the SQL command.

    SELECT GUNION
    (
    (SELECT geometry FROM land WHERE pkuid = 10)
    ,
    (SELECT geometry FROM land WHERE pkuid = 20)
    )
    AS geometry


  4. Click Run SQL.

    A temporary new geometry object is created.


    Note: if the above SQL command execution is successful, then it is fine to proceed to create a new merged polygon feature and delete the original two polygons.
  5. In the SQL tab, type in the following SQL command to create and insert a merged polygon feature record.

    INSERT INTO land (geometry)
    SELECT GUNION
    (
    (SELECT geometry FROM land WHERE pkuid = 10)
    ,
    (SELECT geometry FROM land WHERE pkuid = 20)
    )
    AS geometry

  6.  Click Run SQL.

    A new row is inserted into the land table.
  7. In the SQL tab, type in the SQL command to delete the original two polygon features.

    DELETE FROM land WHERE pkuid = 10 OR pkuid = 20

  8. Click Run SQL.

    The original polygon features are deleted.
  9. Refresh the map view by toggling the land feature display off and on.

    The merged polygon is displayed.

Monday, May 12, 2014

Import OpenStreetMap features into QGIS

QGIS 2.2 has a built in function to import OpenStreetMap features into a SpatiaLite database. Using the function requires us to perform three basic steps:
  • Download data
  • Import topology from XML
  • Export topology to SpatiaLite
The following steps illustrate how to import OpenStreetMap features into QGIS.

Download data
  1. Start QGIS. Optional: Navigate the map view to the area where you want to download OpenStreetMap features.


  2. Select Vector | OpenStreetMap | Download data.

    The Download OpenStreetMap data dialog box appears.

  3. Optional. Choose an extent method e.g. From map canvas.
  4. In the Output file field, click the [...] button.

    The Save As dialog box appears.

  5. Type in a file name, e.g. fortaleza.osm. Click Save. Click OK.

    The OpenStreetMap data has been downloaded.

  6. Click OK. Click Close.
Import topology from XML
  1. Select Vector | OpenStreetMap | Import topology from XML.

    The OpenStreetMap Import dialog box appears.

  2. In the Input XML file (*.osm) field, click the [...] button.

    The Open dialog box appears.

  3. Browse and select the previously downloaded *.osm file, e.g. fortaleza.osm. Click Open.

    The Output SpatiaLite DB file and Connection name fields are populated with default values.

  4. Click OK.

    The OpenStreetMap tables are imported into the SpatiaLite DB.

  5. Click OK. Click Close.
     
Export topology to SpatiaLite.
  1. Select Vector | OpenStreetMap | Export topology to SpatiaLite.

    The Export OpenStreetMap topology to SpatiaLite dialog box appears.

  2. In the Input DB file field, click the [...] button.

    The Open dialog box appears.
  3. Browse and select the previously created SpatiaLite DB file, e.g. fortaleza.osm.db. Click Open.
  4. In the Export type field, toggle on a geometry feature type, e.g. Polylines.


  5. Optional. In the Output layer name field, type in a layer name to use, e.g. fortaleza_polylines.
  6. Click OK.

    The layer is created in QGIS.
  7. Click OK.


  8. Optional. Repeat the previous steps 4-6 for additional geometry types.
  9. Click Close.